
Strawberry Mochi — Ms Shi & Mr He’s Pink Strawberry Mochi

A pink, pillowy mochi filled with stabilized whipped cream and strawberry jam — soft, chewy, and perfect frozen treats for sharing.
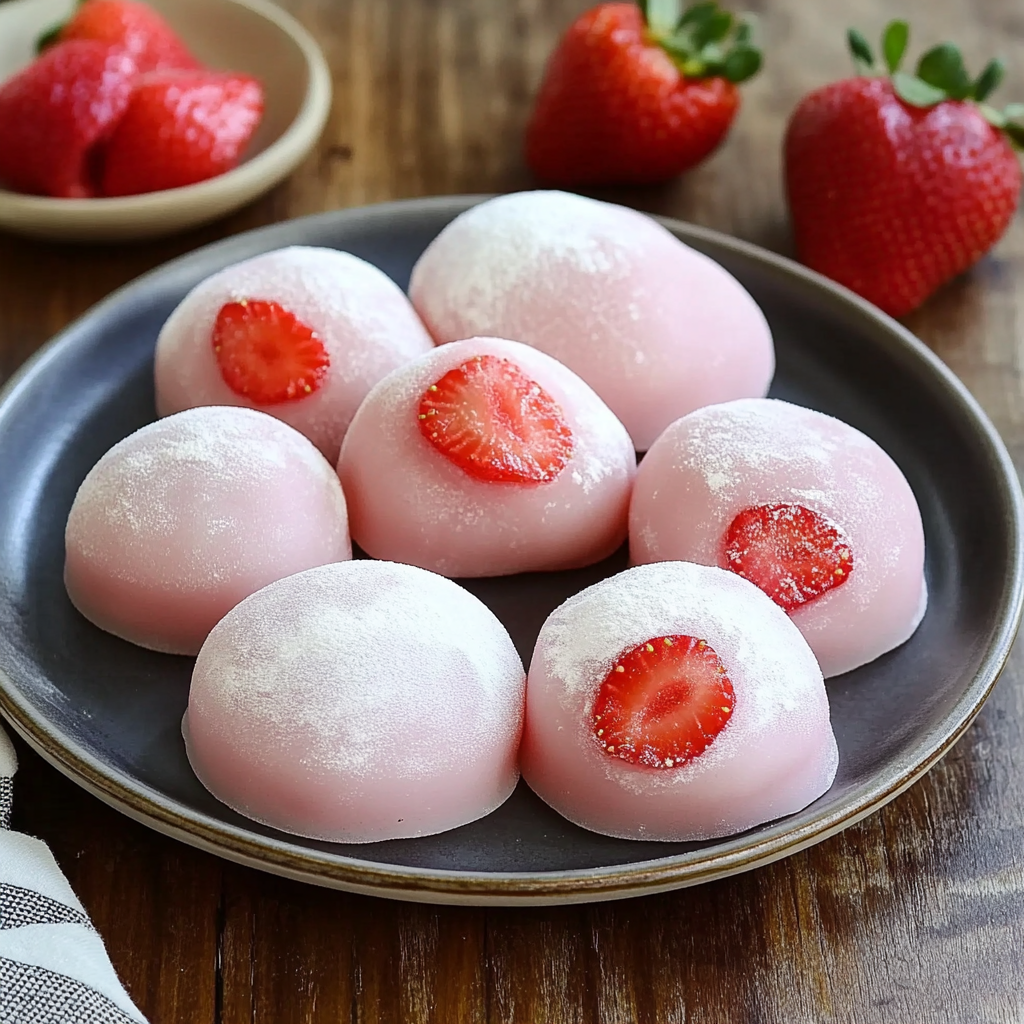
This pink strawberry mochi is exactly the sort of thing people have been asking me to make: something pink, something starring strawberries, and, of course, mochi. I first developed this version during a weekend when my freezer was overflowing with berries and my kids insisted on something pretty and handheld. The combination of a soft, slightly chewy skin flavored with real strawberries and a stabilized whipped-cream center studded with jam instantly became a family favorite. The texture is delicate — a pillowy outer layer that yields to a cool, creamy filling — and the color is that tender rosy pink that makes every plate pop.
I learned a few important lessons while perfecting this: toasting a small portion of the flour keeps the surface pleasantly non-sticky, butter in the dough helps the skin stay soft after refrigeration, and a stabilized whipped cream prevents a saggy center. When you bite into one, you’ll notice a light strawberry perfume, a tender chew from the glutinous rice layer, and a cool, sweet surprise from the filling. It’s a dessert that feels special but is surprisingly achievable on a busy afternoon.
Why You'll Love This Recipe
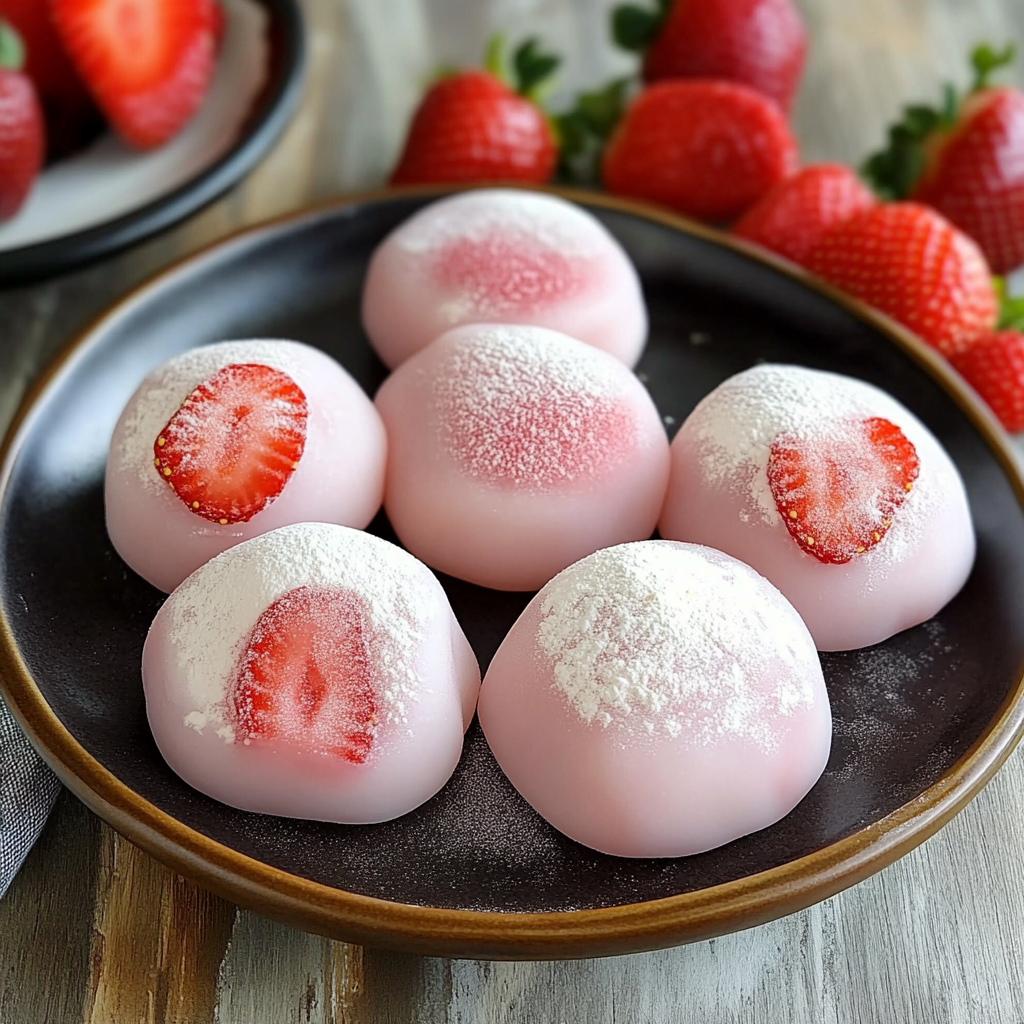
- Uses fresh strawberries blended into the dough for authentic flavor and a natural pink hue — no food coloring required.
- Ready in about 1 hour 20 minutes from start to finish (including brief chilling) — great for weekend baking or last-minute dessert plans.
- Stable cream filling holds its shape: freeze for 20 minutes before serving for the best texture and presentation.
- Pantry-friendly staples like sweet rice flour, cornstarch, and common jams make the recipe accessible and easy to gather.
- Make-ahead friendly: assemble and store in the freezer for up to 7 days; thaw about 20 minutes before serving for perfect chewiness.
- Crowd-pleaser for parties and kids’ events — pretty, portable, and mess-free once wrapped and frozen.
In my kitchen these have become the go-to treat for picnics and small gatherings: friends always ask for seconds, and I love how the pink color brightens any plate. My partner teases that they look almost too pretty to eat — but once tasted, they disappear in minutes.
Ingredients
- Fresh strawberries: Use ripe, fragrant berries — about 1/2 cup diced. Fresh provides the brightest color and flavor; small berries or sliced berries work well. If strawberries are out of season, thawed frozen berries are acceptable but drain excess liquid first.
- Milk: 3/8 cup (6 tablespoons) whole milk or any plant milk (oat works beautifully). Milk carries the strawberry puree and helps the flour hydrate evenly; use whole dairy for a richer mouthfeel or oat for a dairy-free skin.
- Sugar for dough: 3 tablespoons granulated sugar. Balances the tart berries and helps the skin brown slightly during the microwave step.
- Sweet rice flour (glutinous rice flour): 7/8 cup for the dough and an extra 1/2 cup for dusting/toasting. I use Bob’s Red Mill sweet rice flour — it gives consistent chew and texture.
- Cornstarch: 1/4 cup. Keeps the dough pliable and prevents over-tightness in the skin.
- Unsalted butter: 1 1/2 tablespoons. Melted into the hot dough it keeps the skin soft after chilling; coconut oil can substitute if you prefer.
- For the filling — heavy cream: 1/2 cup plus 2 tablespoons heavy whipping cream, chilled. Beat with 1 1/4 tablespoons sugar to stiff peaks.
- Strawberry jam: 4 tablespoons to anchor flavor in the center. You can swap for small fresh berry pieces or a spoonful of red bean paste for a traditional twist.
Instructions
Prepare the toasted flour: Measure 1/2 cup sweet rice flour in a dry skillet over medium heat. Toast for about 5 minutes, whisking constantly, until it smells nutty and slightly like popcorn. Transfer to a bowl to cool — this cooked flour will be used for dusting and will keep the mochi surface from becoming unbearably sticky. Stabilize the cream: Combine 1/2 cup plus 2 tablespoons chilled heavy cream with 1 1/4 tablespoons sugar. Beat with a hand mixer or stand mixer until stiff peaks form. For extra hold, use a gelatin-stabilized whipped cream (see notes). Place whipped cream in the freezer while you make the dough so it stays firm during assembly. Make the strawberry milk: In a blender add 1/2 cup diced strawberries and 3/8 cup milk with 3 tablespoons sugar. Blend until completely smooth. This strawberry milk is the flavor base of the dough and gives the pink color. Mix the dry ingredients: In a microwave-safe bowl weigh or measure 7/8 cup sweet rice flour and 1/4 cup cornstarch. Stir to combine so the starch is evenly distributed. Combine and cook: Pour the strawberry milk into the flour mixture and stir until it reaches a thick, yogurt-like consistency. Cover the bowl with microwave-safe food wrap and poke 12–16 tiny holes with a toothpick to vent. Microwave for 3 minutes, then check with a toothpick: if it comes out dry, it’s cooked; if wet, recover and microwave for 30 seconds more. (Alternatively steam over high heat for 30 minutes.) Add butter and knead: Immediately place 1 1/2 tablespoons unsalted butter on the hot dough — it will melt quickly. Put on non-stick gloves or grease your palms lightly with melted butter. When cool enough to handle, knead inside the bowl until the butter is fully absorbed. Continue kneading about 5 minutes until the dough stretches to about 10 inches without tearing. Portion and shape: Transfer dough to a surface dusted with toasted sweet rice flour. Divide into 8 equal pieces (about 1.1 ounces / 32 grams each). Flatten each portion into a 4-inch round using floured hands or a rolling pin wrapped in food wrap. Assemble the centers: Place a mochi round on a small ladle or bowl. Remove whipped cream from the freezer and place about 2 tablespoons of whipped cream plus 1 tablespoon strawberry jam in the center. Pull the dough edges up to cover the filling and press to seal. Return each finished piece to a tray and freeze for 20 minutes before serving.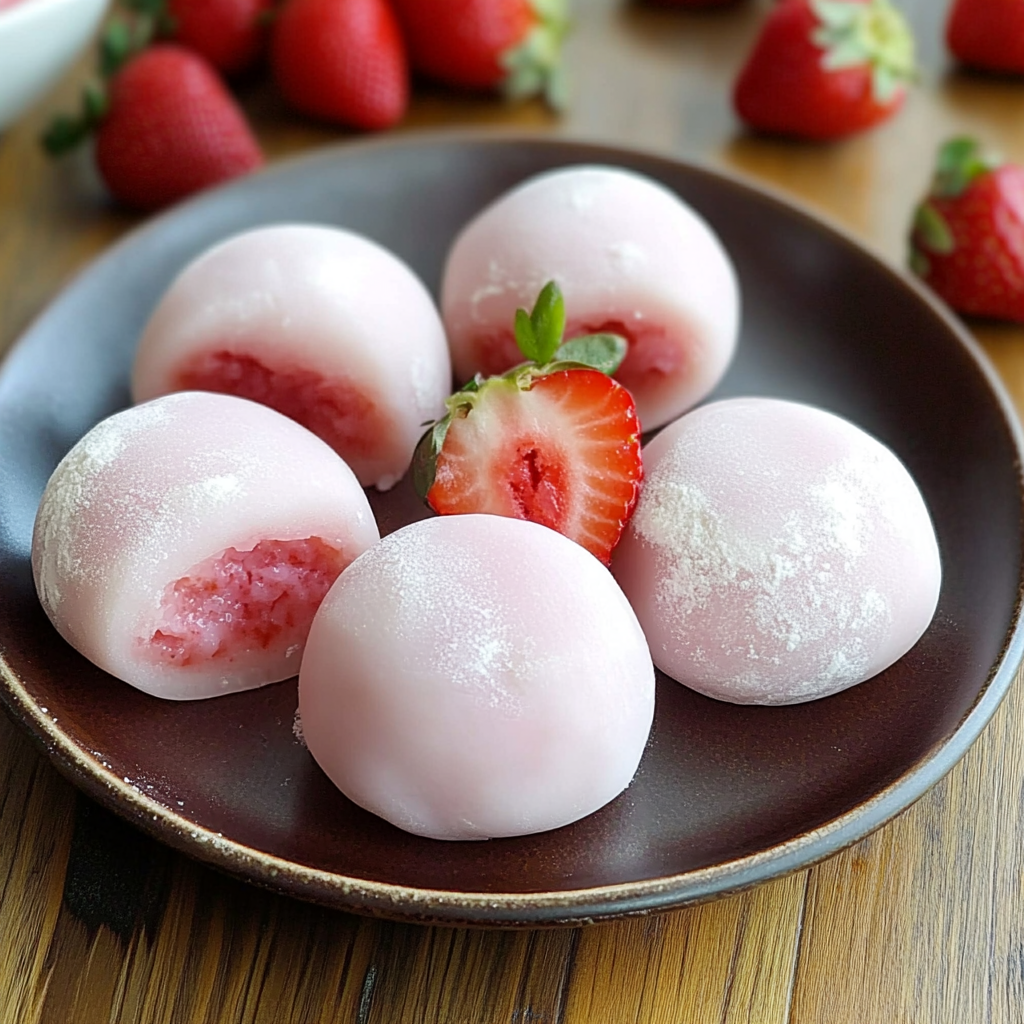
You Must Know
- These keep best in the freezer for up to 7 days; thaw at room temperature about 20 minutes before serving for ideal chewiness.
- Glutinous rice flour is naturally gluten-free — verify packaging if you require certified gluten-free to avoid cross-contamination.
- For a firmer filling that supports the rounded shape, use a gelatin-stabilized whipped cream recipe.
- Toast a portion of the flour to dust the work surface; this makes shaping far less sticky and prevents you from needing excessive starch.
My favorite part is watching how the cream peeks out the first time you press into a mochi — the contrast of cool filling and warm, elastic skin always gets delighted exclamations from friends. These have been a hit at holiday brunches and summer picnics alike.
Storage Tips
Store finished pieces in a single layer in an airtight container or a tray lined with parchment and a tight lid. Keep them in the freezer up to 7 days — they soften but maintain chewiness. To serve, place on the counter for about 20 minutes to take the chill off; if you leave them too long they can become overly soft. Avoid storing near strong-flavored foods in the freezer, as they can pick up odors. If stacking, place parchment between layers to prevent sticking.
Ingredient Substitutions
If you need dairy-free sections, swap heavy cream for full-fat coconut cream and use coconut oil instead of butter in the dough. For a white skin version, replace the blended strawberries and milk with 3/8 cup plain milk (170 g equivalent) and a little vanilla. You can replace strawberry jam with chopped fresh berries, sweetened red bean paste, or a scoop of sorbet for an icy center — expect small texture and sweetness differences.
Serving Suggestions
Serve these on a small slate or pale plate to let the pink color shine; garnish with a tiny mint leaf or a light dusting of toasted rice flour. They pair beautifully with green tea or a lightly sweetened iced jasmine tea. For parties, arrange on a tiered stand or in small cupcake liners for easy picking. They’re elegant enough for intimate dinners and fun for children’s parties.
Cultural Background
Mochi — made from sweet rice — is a traditional Japanese treat with centuries of history. While classic offerings often contain bean paste, contemporary variations like these filled with cream and fruit have become popular in cafes and home kitchens. Using strawberry blends and jam nods to modern reinterpretations while preserving the essential chewy texture of sweet rice-based confections.
Seasonal Adaptations
In spring, use fresh, fragrant strawberries for vivid color; in winter, thawed frozen berries work well if drained. For autumn, substitute the jam with spiced apple butter and a touch of cinnamon in the filling. During holidays, top with a sliver of candied ginger or dip half the mochi in tempered white chocolate for a festive twist.
Meal Prep Tips
Assemble a batch on a weekend and freeze them keyed by flavor — label trays with date and flavor. Use a scoop or spoon template for consistent filling amounts and a digital scale to portion dough evenly for uniform bake/texture. Harden the cream briefly in the freezer before wrapping to reduce squishing during sealing.
These little pink parcels reward patience with delightful texture and charming presentation. Make a batch and share — they’re a lovely way to brighten someone’s day.
Pro Tips
Toast 1/2 cup sweet rice flour in a dry pan until fragrant; use it to dust surfaces and prevent sticking.
Chill whipped cream in the freezer for a few minutes before assembling to keep the shape while you close the dough.
Use a small ladle or bowl as a forming tool to make sealing easier and to keep shapes uniform.
If you want firmer filling for warmer climates, use a gelatin-stabilized whipped cream recipe.
Substitute coconut oil for butter in the dough to make the skin dairy-free.
This nourishing strawberry mochi — ms shi & mr he’s pink strawberry mochi recipe is sure to be a staple in your kitchen. Enjoy every moist, high protein slice — it is perfect for breakfast or as a wholesome snack any time.
FAQs about Recipes
How long can I store these?
Yes — keep them in the freezer up to 7 days and thaw about 20 minutes before serving for best texture.
What if my dough is too sticky to handle?
If the dough is too sticky, chill for 10–15 minutes and dust with toasted sweet rice flour. Greasing hands lightly also helps.
Tags
Strawberry Mochi — Ms Shi & Mr He’s Pink Strawberry Mochi
This Strawberry Mochi — Ms Shi & Mr He’s Pink Strawberry Mochi recipe makes perfectly juicy, tender, and flavorful steak every time! Serve with potatoes and a side salad for an unforgettable dinner in under 30 minutes.
Ingredients
Mochi skin
Filling
For dusting / toasted flour
Instructions
Toast sweet rice flour
Toast 1/2 cup sweet rice flour in a dry skillet over medium heat for about 5 minutes, whisking constantly, until fragrant and slightly browned. Cool and reserve for dusting.
Whip and chill cream
Beat chilled heavy cream with sugar until stiff peaks form. Place the whipped cream in the freezer to keep firm during assembly. For longer hold, use gelatin stabilization.
Blend strawberry milk
Blend 1/2 cup diced strawberries with 3/8 cup milk and 3 tablespoons sugar until smooth. This mixture flavors and colors the dough.
Combine dry ingredients
In a microwave-safe bowl combine 7/8 cup sweet rice flour and 1/4 cup cornstarch; stir to blend evenly.
Cook dough
Pour the strawberry milk into the dry mix and stir to a yogurt-like consistency. Cover with microwave-safe wrap with vent holes and microwave for 3 minutes; test with a toothpick and microwave in 30-second increments if still wet.
Add butter and knead
Place 1 1/2 tablespoons butter on the hot dough and knead when cool enough. Continue kneading about 5 minutes until elastic and stretchable about 10 inches without tearing.
Portion and flatten
Dust surface with toasted flour, divide dough into 8 equal portions (about 1.1 oz / 32 g each), and flatten into 4-inch rounds.
Fill and seal
Place about 2 tablespoons whipped cream and 1 tablespoon jam in the center of each round, gather edges to seal well, and smooth seams. Freeze 20 minutes before serving.
Last Step: Please leave a rating and comment letting us know how you liked this recipe! This helps our business to thrive and continue providing free, high-quality recipes for you.
Nutrition
Did You Make This?
Leave a comment & rating below or tag
@kitchenfunwithmy3sons on social media!
Categories:
You might also like...
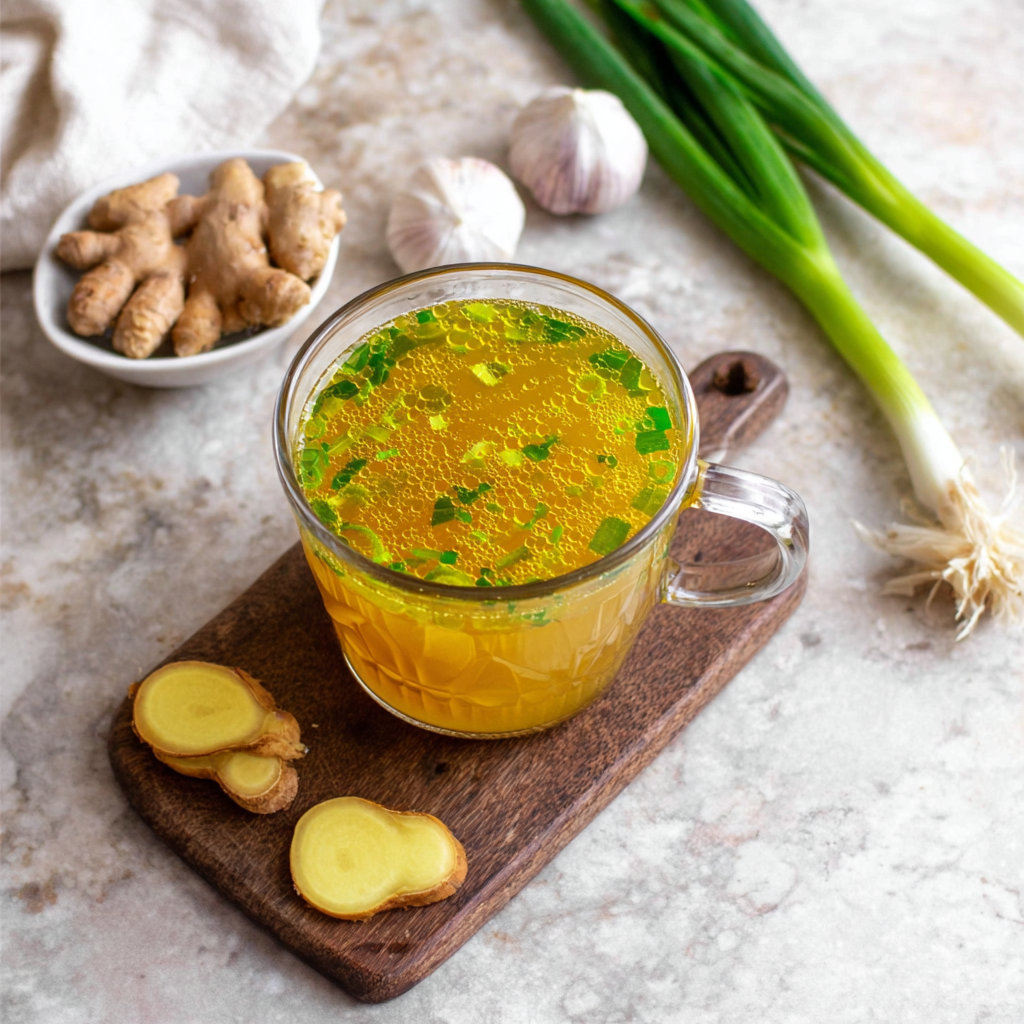
10 Minute Immune Boosting Broth
A quick, restorative broth packed with garlic, ginger, miso and turmeric—ready in 10 minutes to soothe, hydrate and support immunity.
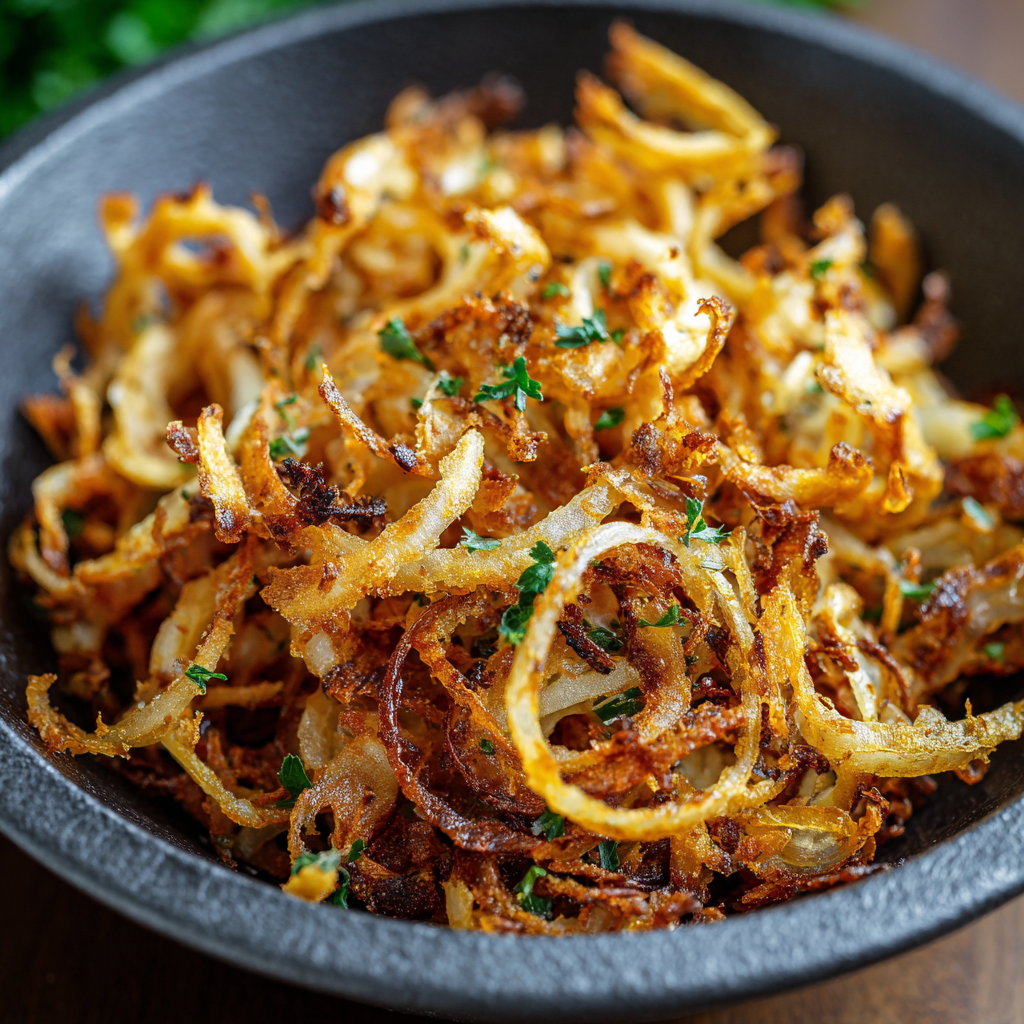
Air Fried Crispy Onion
Make irresistibly crispy caramelized onions in the air fryer using a whisper of oil—no deep frying required. A perfect crunchy condiment to top salads, biryanis, and sandwiches.
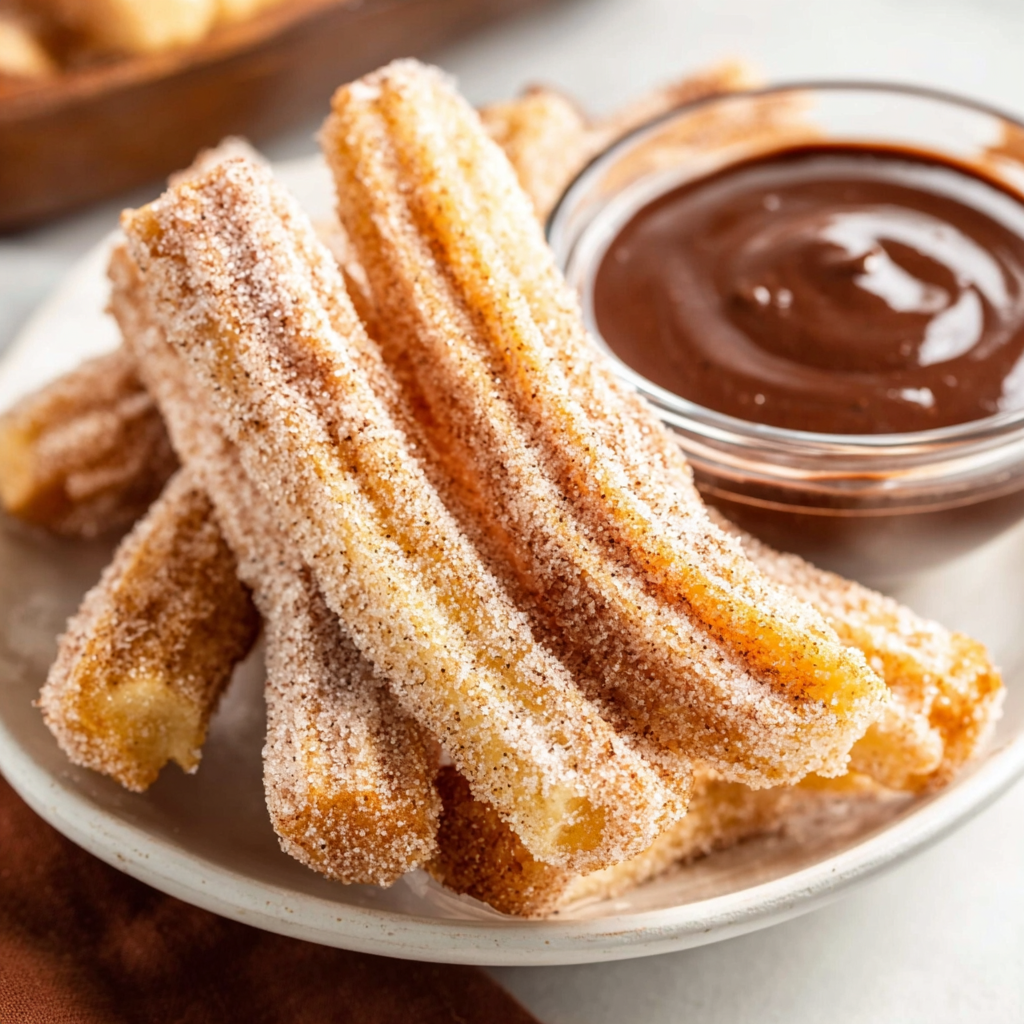
Air Fryer Churros
Golden, crisp-on-the-outside, pillowy-on-the-inside churros made in the air fryer. A lighter way to enjoy a Mexican classic, perfect for parties and weeknight treats.
Did You Make This?
Leave a comment & rating below or tag @kitchenfunwithmysons on social media!
Rate This Recipe
Share This Recipe
Enjoyed this recipe? Share it with friends and family, and don't forget to leave a review!
Comments (1)
This recipe looks amazing! Can't wait to try it.
Comments are stored locally in your browser. Server comments are displayed alongside your local comments.
Hi, I'm Melissa!
What's Popular

Get My 30-Minute Meals email series!
Quick and easy dinner ideas delivered to your inbox.