>>
30-MINUTE MEALS! Get the email series now →


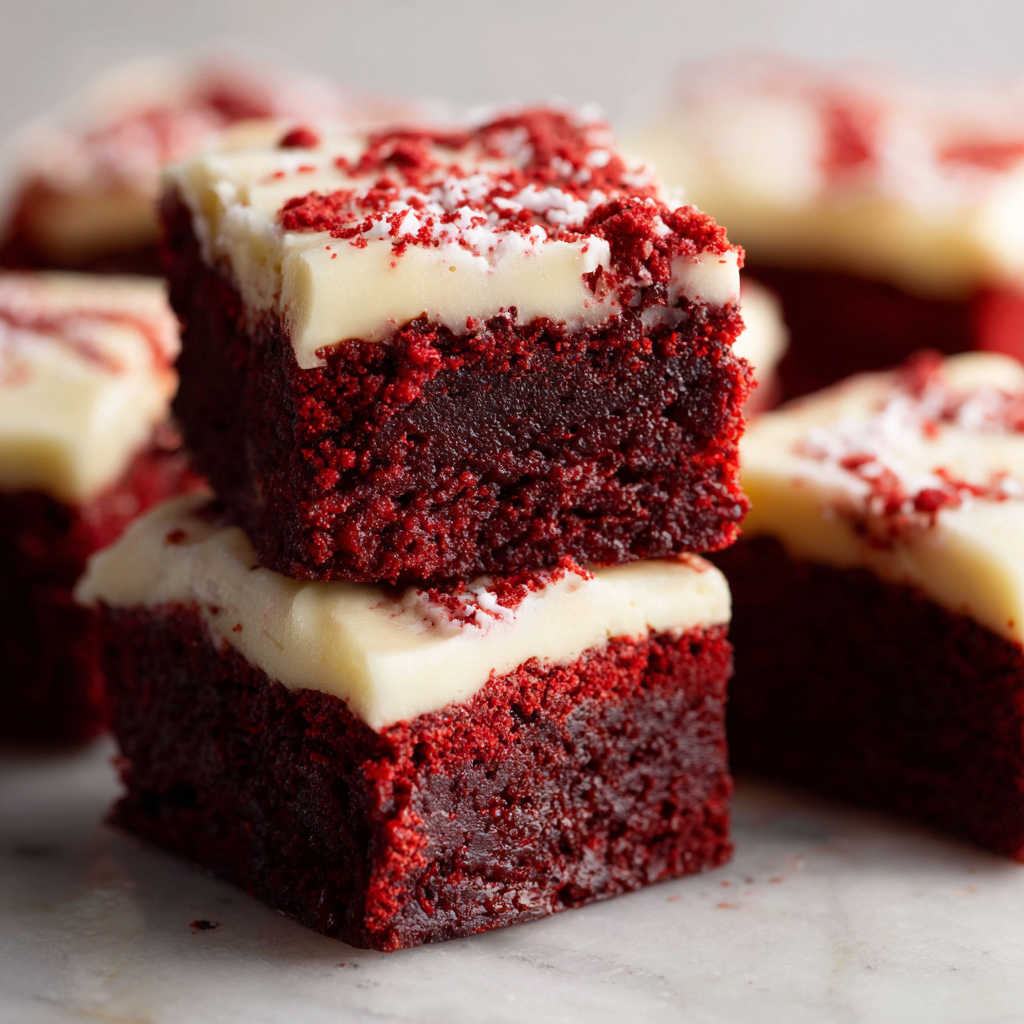
Perfectly fudgy red velvet brownies topped with creamy, tangy cream cheese frosting — a rich, celebratory treat that’s easy enough for weeknights and special enough for gatherings.
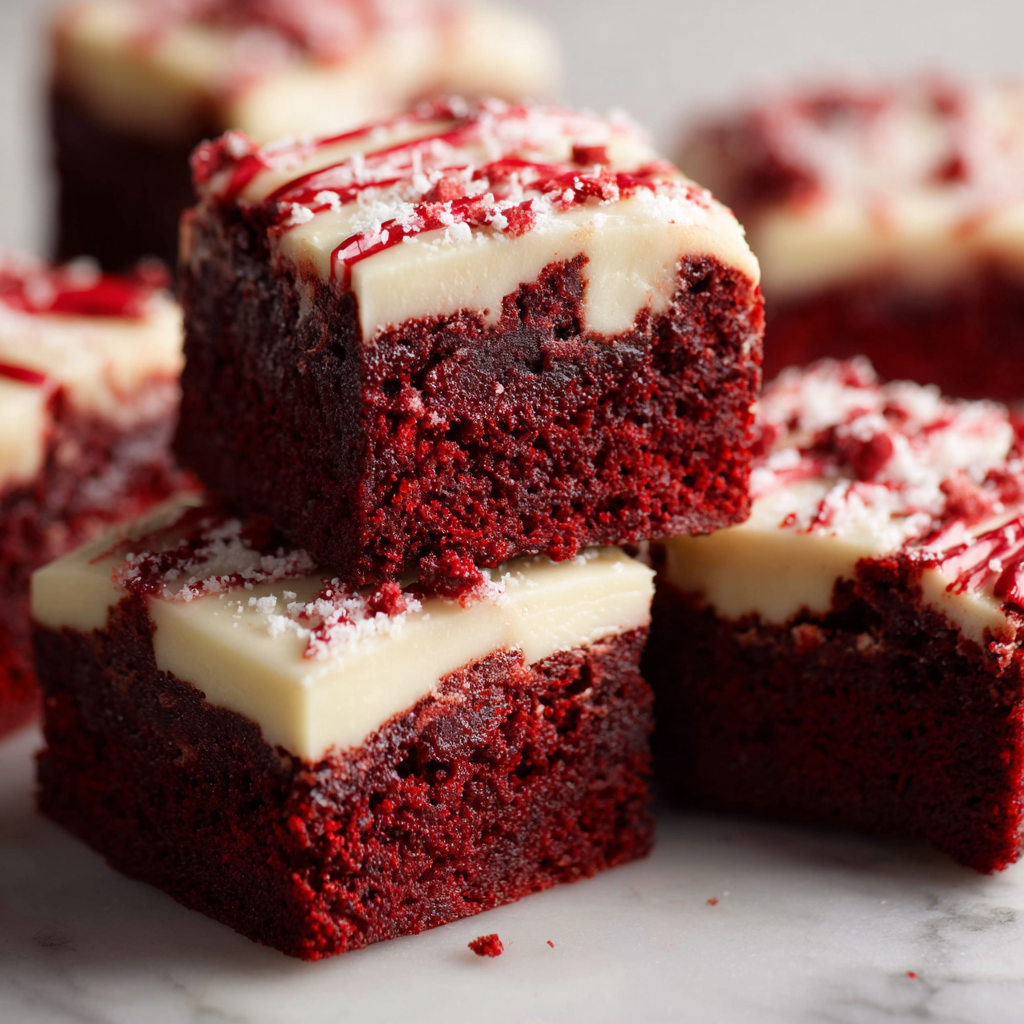
This recipe for perfectly fudgy red velvet brownies has been my go-to when I want something that reads like a celebration but comes together with pantry-friendly ingredients. I first stumbled onto this combination while trying to merge two beloved treats: deep, chewy brownies and the classic red velvet cake. The result is a dense, tender square with a cocoa backbone and that signature red hue — moist without being cakey, with a silky cream cheese topping that cuts through the sweetness.
I discovered the formula during a rainy weekend baking session, testing ratios until the texture hit that sweet spot: glossy top, gooey interior and edges that pull away just enough from the pan. These squares have shown up on birthday tables, potluck dessert platters and quiet Sunday breakfasts with coffee. Family members invariably ask which bakery I ordered from — they never believe I made them at home.
I still remember serving these for a friend’s low-key dinner and watching everyone reach for seconds. The combination of the tangy frosting and the chocolate-vanilla balance always starts conversations — and compliments — which is why I keep this in my regular baking rotation.

My favorite aspect is the balance: the tangy frosting brightens each bite, and the slightly bitter cocoa keeps the sweetness from overwhelming. I’ve watched these disappear at summer BBQs and winter holiday tables alike; they’re reliable crowd-pleasers no matter the season.
Store frosted squares in an airtight container in the refrigerator for up to 4 days; the cream cheese topping needs cool storage. For longer storage, freeze unfrosted bars wrapped tightly in plastic and foil for up to 3 months. Thaw overnight in the refrigerator, then pipe or spread frosting on the thawed bars for the freshest texture. To maintain crisp edges, slice after chilling and place parchment between layers when stacking.
If you need to swap ingredients: use light olive oil or melted coconut oil for vegetable oil in a 1:1 ratio (note a faint flavor change). For a dairy-free version, use an appropriate vegan butter and coconut cream-based frosting (texture will be slightly different). To make them gluten-free, substitute a 1:1 gluten-free flour blend and expect a slightly softer edge. If you omit white chocolate chips, consider adding 1/4 cup chopped toasted pecans for texture.
Serve squares at room temperature with a small dusting of cocoa or a few white chocolate shavings for contrast. Pair with strong coffee or a creamy milkshake; for celebrations, arrange on a platter with fresh berries to add brightness. Cut into small 2x2 inch portions for buffets or larger 3x3 inch pieces as a dessert course. A tiny dollop of whipped cream and a sprinkle of flaky sea salt elevates the flavors.
Red velvet has American roots and became widespread with the popularity of the crimson-hued cakes of the early 20th century, often associated with Southern baking. The contrast of cocoa and buttermilk or vinegar — coupled with the cream cheese finish — defines the style. These squares adapt that classic combination into a denser, brownie-like format that keeps the distinctive color and tang while offering richer mouthfeel.
In winter, add a teaspoon of ground cloves or cinnamon to the batter for warmth; in summer, fold in a handful of raspberries or serve with a lemon-scented whipped cream for brightness. For holiday flair, top with chopped pistachios and a drizzle of white chocolate. For Valentine’s Day, cut into heart shapes and pipe small rosettes of frosting on each piece.
Make the unfrosted base up to 3 days ahead and store tightly covered in the refrigerator. Prepare frosting the day you plan to serve for the freshest texture; it can be held in the fridge for 2 days. When packing lunches, wrap individual squares in parchment and place in a rigid container to avoid smudging the frosting. For entertaining, bake two pans and freeze one unfrosted to allow rapid thaw-and-frost on event day.
These squares are an invitation to enjoy the ritual of baking with visible, delicious results — whether you’re serving a crowd or sneaking a late-night square for yourself. Make them your own: try different add-ins, adjust frosting thickness, and share the results with friends.
Use a scale for the most accurate flour measurement — 3/4 cup spooned and leveled produces the intended fudgy texture.
Cool brownies completely before frosting to prevent the frosting from melting and sliding off.
Test doneness with a skewer: it should come out with moist crumbs, not wet batter.
If using white chocolate chips, fold them in at the end to prevent them melting into the batter during mixing.
This nourishing red velvet brownies recipe is sure to be a staple in your kitchen. Enjoy every moist, high protein slice — it is perfect for breakfast or as a wholesome snack any time.
This Red Velvet Brownies recipe makes perfectly juicy, tender, and flavorful steak every time! Serve with potatoes and a side salad for an unforgettable dinner in under 30 minutes.
Preheat oven to 350°F. Line an 8-inch square pan with parchment and leave an overhang for easy removal.
Melt 6 tablespoons butter in short intervals. Whisk together with granulated and brown sugar until glossy and incorporated.
Whisk in 3 eggs and 1 egg yolk with 1 teaspoon vanilla; mix until just combined to avoid adding air.
Stir in 1/3 cup vegetable oil and 1/4 cup cocoa powder until fully blended and smooth.
Mix a small amount of batter with red gel coloring and fold back in. Fold in 3/4 cup flour, 1 tablespoon cornstarch and 1/4 teaspoon salt with a spatula until no dry streaks remain.
Stir in 1 tablespoon vinegar and optional white chocolate chips. Pour into pan and bake 20–25 minutes until a skewer shows moist crumbs.
Cool completely before removing from pan. Beat cream cheese and softened butter, add powdered sugar and vanilla, then spread over cooled squares.
Last Step: Please leave a rating and comment letting us know how you liked this recipe! This helps our business to thrive and continue providing free, high-quality recipes for you.
Leave a comment & rating below or tag
@kitchenfunwithmy3sons on social media!
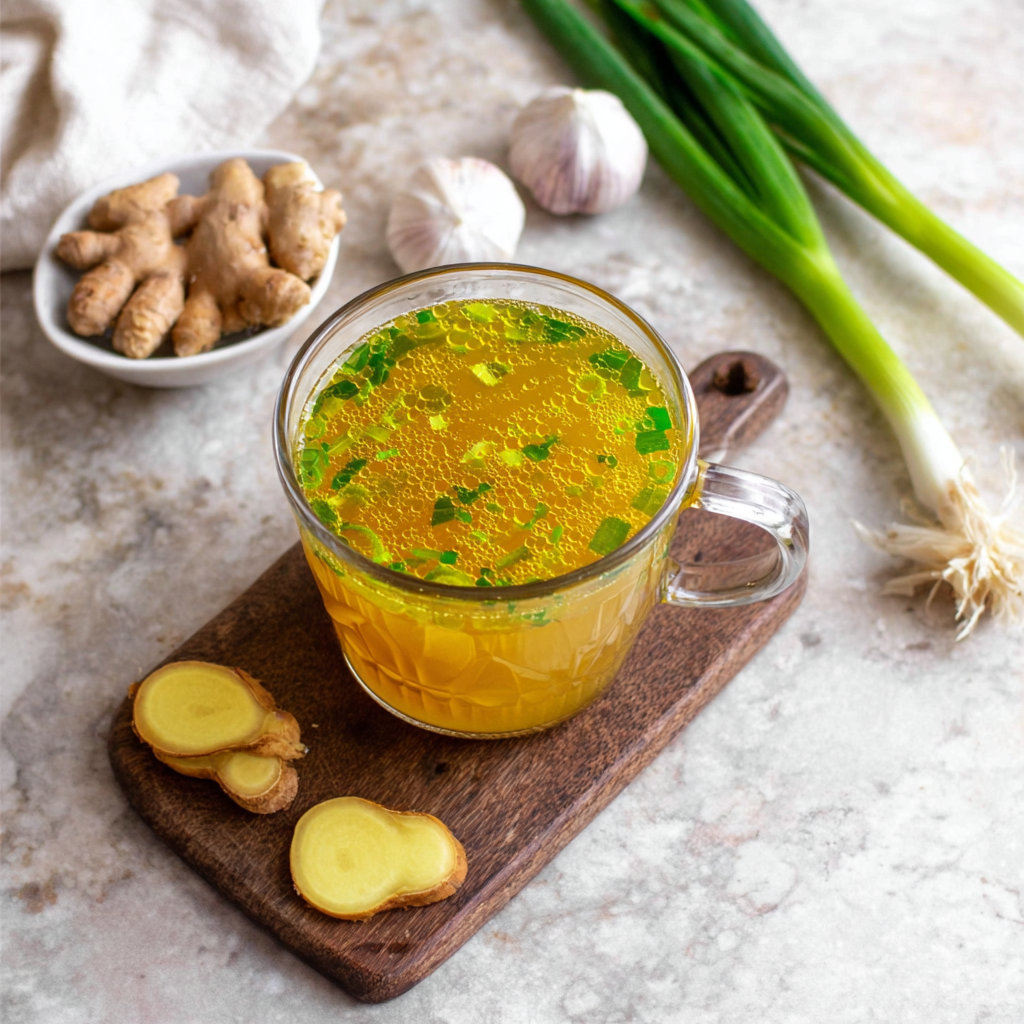
A quick, restorative broth packed with garlic, ginger, miso and turmeric—ready in 10 minutes to soothe, hydrate and support immunity.
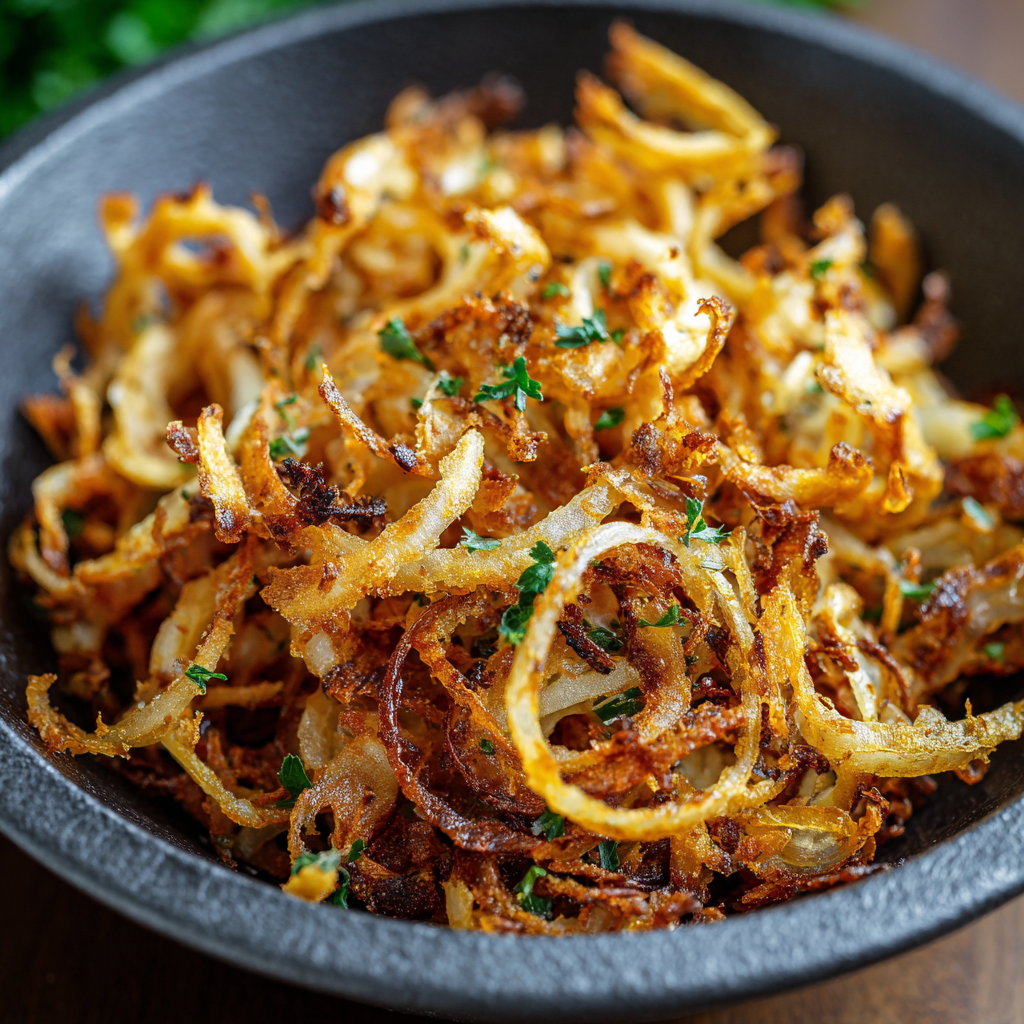
Make irresistibly crispy caramelized onions in the air fryer using a whisper of oil—no deep frying required. A perfect crunchy condiment to top salads, biryanis, and sandwiches.
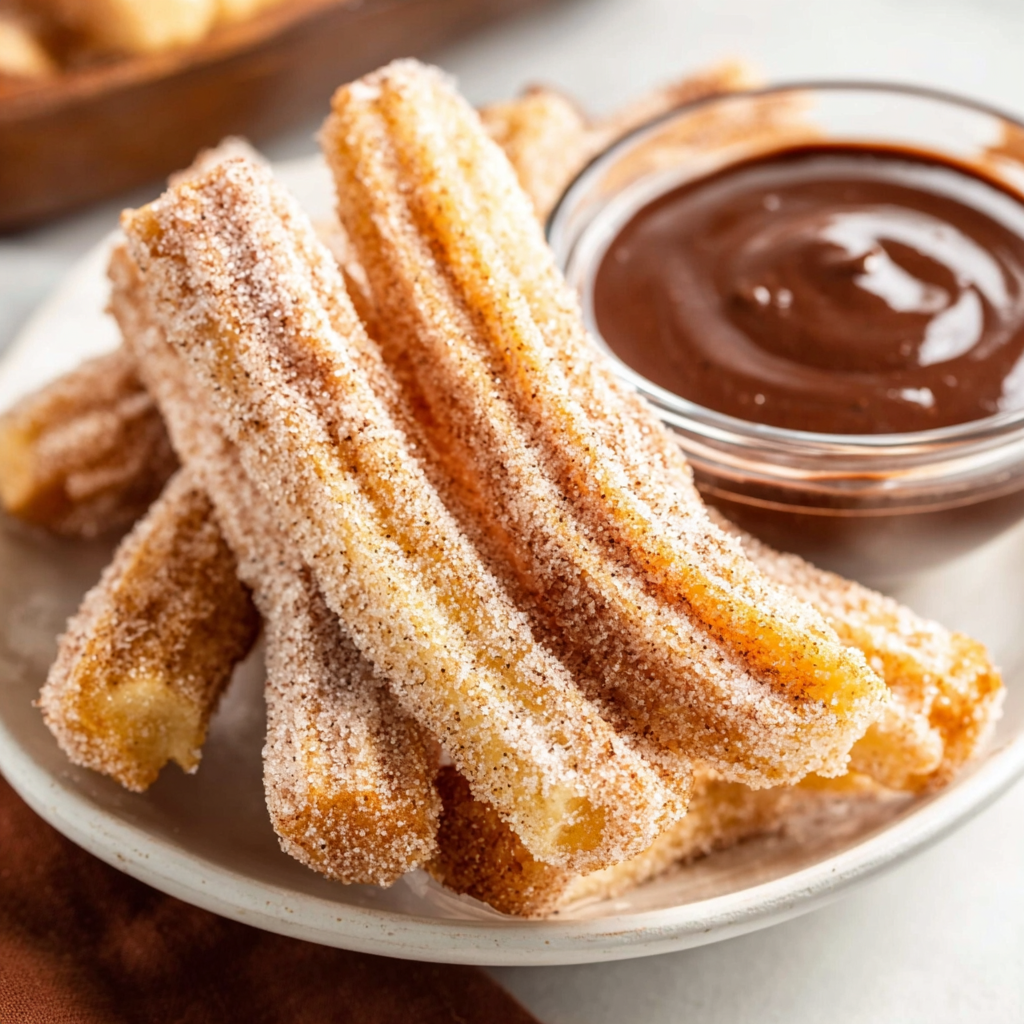
Golden, crisp-on-the-outside, pillowy-on-the-inside churros made in the air fryer. A lighter way to enjoy a Mexican classic, perfect for parties and weeknight treats.
Leave a comment & rating below or tag @kitchenfunwithmysons on social media!
Enjoyed this recipe? Share it with friends and family, and don't forget to leave a review!
This recipe looks amazing! Can't wait to try it.
Comments are stored locally in your browser. Server comments are displayed alongside your local comments.
Quick and easy dinner ideas delivered to your inbox.