>>
30-MINUTE MEALS! Get the email series now →


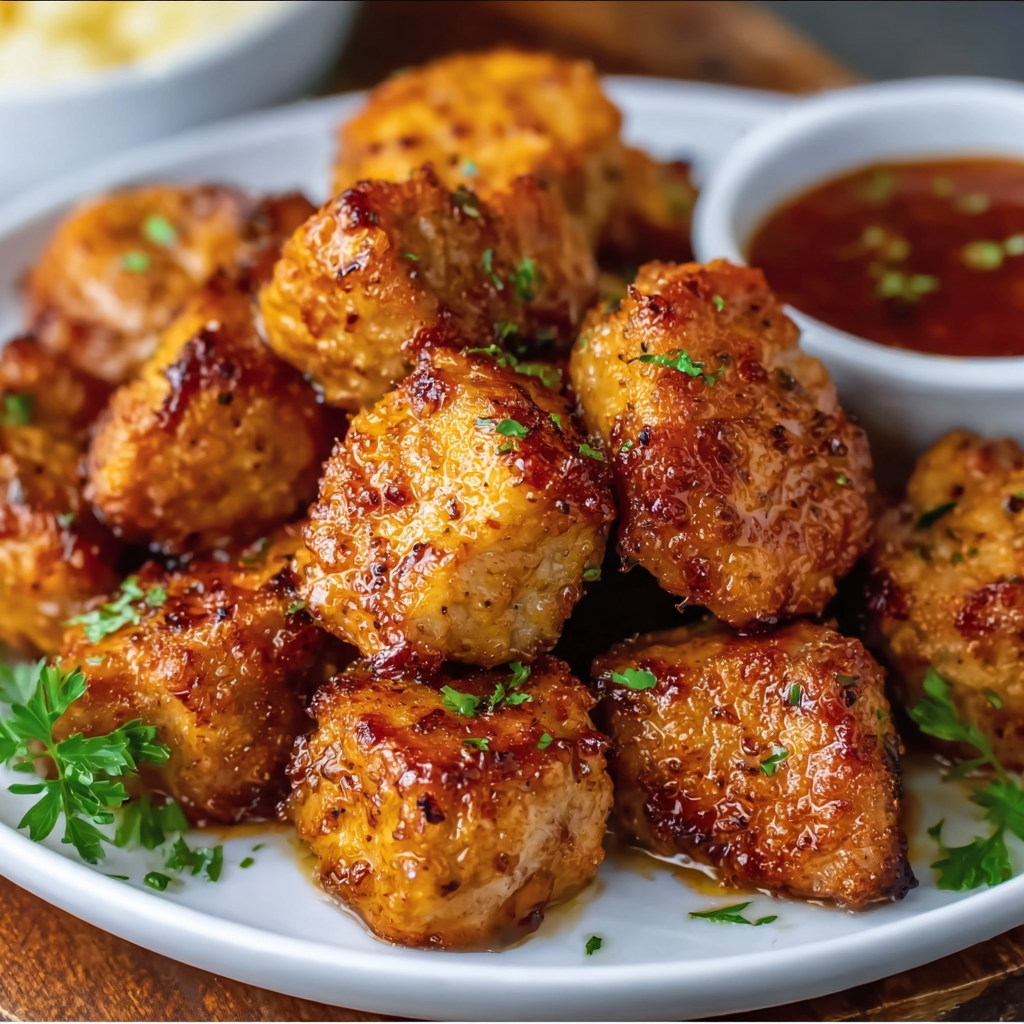
Juicy seasoned beef and melty cheddar tucked inside golden biscuit dough, finished with a buttery garlic-Parmesan glaze—perfect for parties or a cozy snack.
This is one of those party bites that became a weekend staple in my kitchen the moment I tested it. These Garlic Parmesan Cheeseburger Bombs are a tiny package of everything we love about a cheeseburger: juicy seasoned beef, gooey cheddar, and buttery, garlicky topping with a crisp golden exterior. I first made them for a family movie night when store-bought snacks felt tired; they disappeared so fast I started keeping the components on hand for last-minute gatherings.
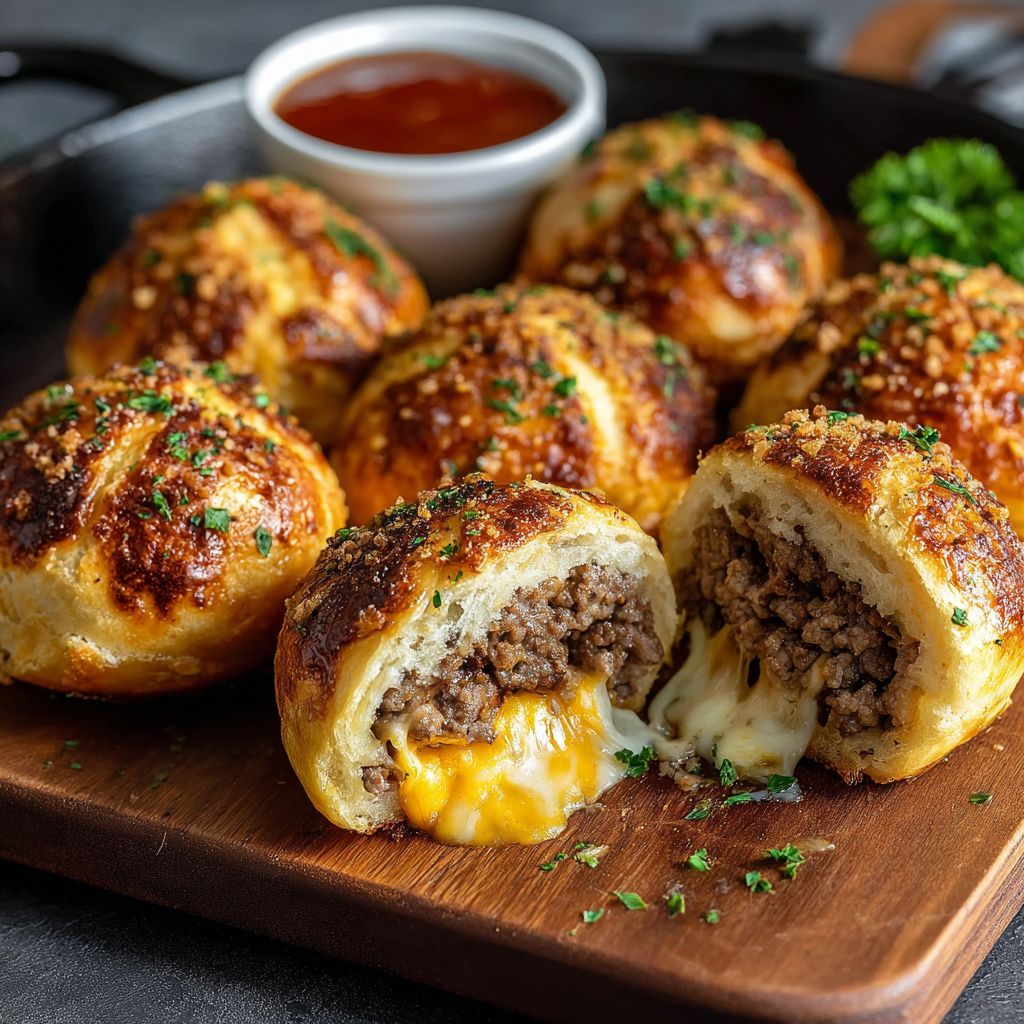
What makes these bombs special is the contrast between the soft biscuit shell and the hot, cheesy center. Each bite releases savory juices and a string of cheddar, while the garlic-Parmesan butter on top adds an almost irresistible savory crunch. They are easy enough for a beginner to assemble, yet impressive enough to serve at a weekend gathering or game-day spread. Trust me: once you try these, friends will start requesting them at every potluck.
On my first try I underestimated how quickly they would vanish—my father had three before I even plated the rest. My neighbor, a picky eater, admitted she loved the buttery top more than the filling. Over time I dialed in the seasoning balance and the garlic-parmesan topping ratio; now I make a double batch because the back-and-forth to the oven becomes a rush of compliments every time.
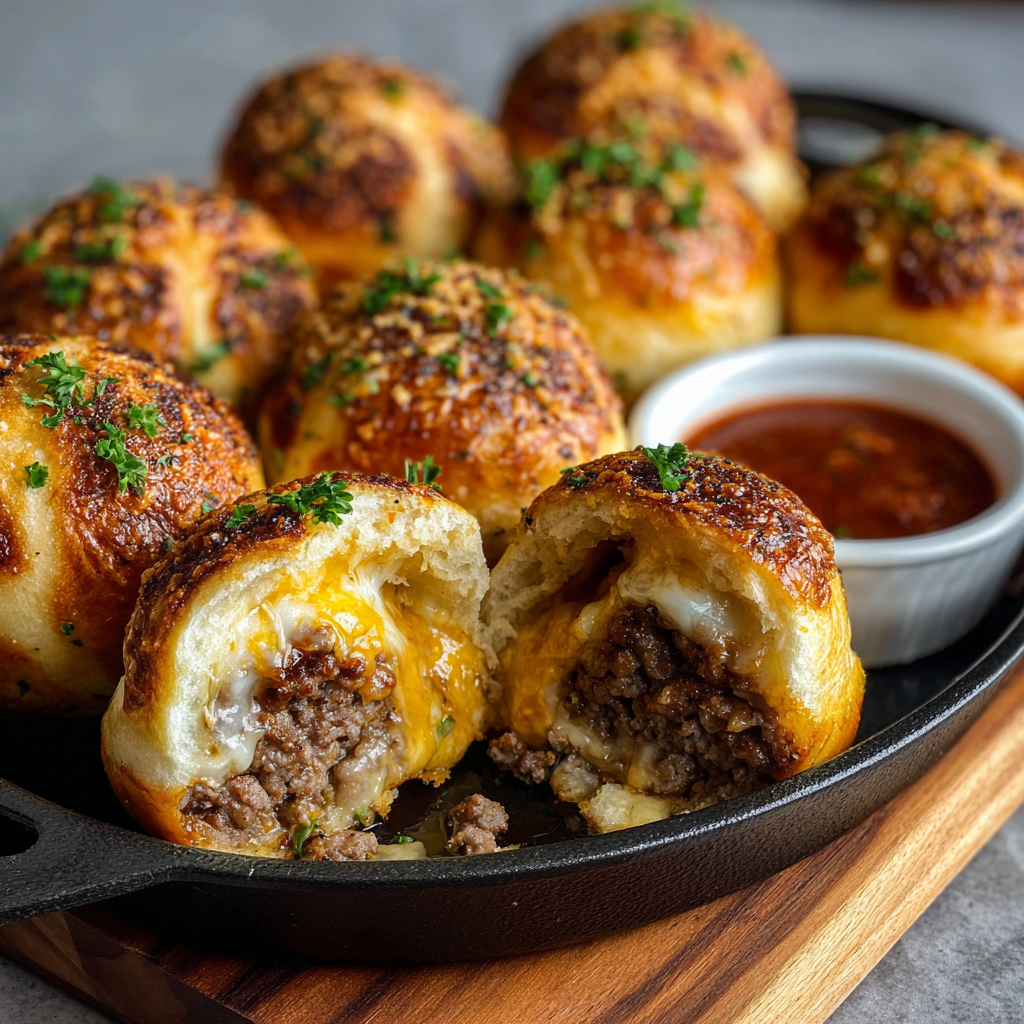
My favorite part of these bombs is the buttery, garlicky top. It adds a restaurant-style finish that makes a simple biscuit feel elevated. When I serve them, I always keep a small bowl of pickles and a tangy dipping sauce nearby; the acidic contrast brightens the rich filling. Watching guests break one open and get that first string of cheese is my favorite reaction.
To store cooled bites, arrange them in a single layer in an airtight container lined with paper towels to absorb excess moisture and keep the tops from going soggy. Refrigerate for up to three days. For longer storage, freeze on a baking sheet until solid, then transfer to a freezer bag for up to three months. Reheat from frozen in a 375°F oven for 12–15 minutes or until internal temperature reaches 165°F; from refrigerated, reheat for 8–10 minutes. Avoid microwaving if you want to preserve the crisp exterior.
Swap the biscuit dough for refrigerated pizza dough for a slightly chewier exterior, or use crescent roll dough for a flakier finish—adjust bake time by a couple minutes. Replace cheddar with pepper jack for heat or mozzarella for stretch. For a lower-fat alternative, use 90/10 ground beef and reduce added butter by brushing lightly with a butter-olive oil mix. To make gluten-free, use a high-quality gluten-free dough; flavor and rise will vary slightly.
Serve these with small bowls of dipping sauces: classic ketchup, smoky BBQ, ranch, or a tangy sriracha-mayo. Add crisp pickle slices or quick-pickled red onions on the side to cut the richness. For a brunch twist, pair with scrambled eggs and a light arugula salad dressed in lemon vinaigrette. Garnish with extra chopped parsley for color and a squeeze of fresh lemon if you like a bright finish.
These morsels are a modern American hybrid inspired by classic cheeseburgers and hand-held savory pastries from various cuisines. The concept of stuffing dough with meat has roots in many traditions—think empanadas, meat pies, and stuffed buns—while the garlic-Parmesan topping nods to Italian-American flavors. Combining these elements creates a comfortable, familiar flavor profile that resonates across age groups and gatherings.
In winter, add a spoonful of caramelized onions to the filling for a deeper, sweeter profile. In summer, mix in finely chopped roasted red peppers or a pinch of smoked paprika for a grill-inspired flavor. For holiday parties, swap in finely chopped cooked bacon and a dash of maple to echo seasonal favorites. Fresh herbs like chives or thyme can replace parsley to reflect seasonal herb availability.
Make the filling ahead and refrigerate in a sealed container for up to two days; fill and shape the dough just before baking to preserve dough texture. Alternatively, assemble bombs, freeze on a tray, then place in bags for grab-and-bake convenience—no thawing necessary, just add a few extra minutes to baking time. Keep toppings separate until just before baking to maintain the fresh, golden finish.
These Garlic Parmesan Cheeseburger Bombs have become my go-to when I want a simple but impressive appetizer. They balance convenience with craveable flavor, and with a few small tweaks you can adapt them to almost any crowd. Give them a try and make them your own—then tell me which variation became your favorite.
Seal the dough seams tightly to prevent leakage during baking and keep the filling juicy inside.
Drain most of the fat after browning the beef to avoid a soggy filling and excess grease in the bombs.
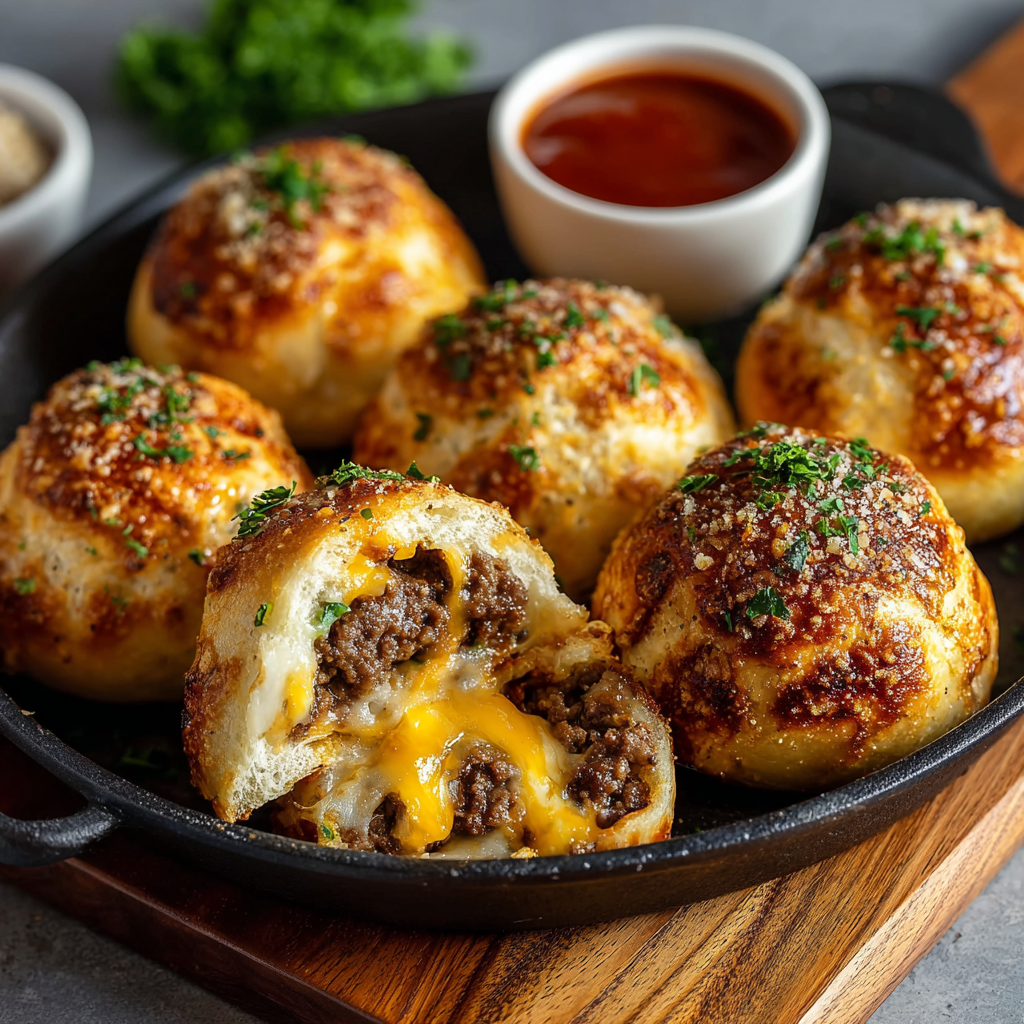
Brush the tops generously with garlic butter and sprinkle Parmesan while still warm so it adheres and browns nicely.
For cleaner slicing and serving, let the bombs rest 5 minutes after baking so the filling settles.
This nourishing irresistible garlic parmesan cheeseburger bombs recipe is sure to be a staple in your kitchen. Enjoy every moist, high protein slice — it is perfect for breakfast or as a wholesome snack any time.
Yes. Assemble, flash-freeze on a sheet until solid, transfer to a freezer bag, and bake from frozen adding a few minutes to the bake time until internal temp reaches 165°F.
Keep in an airtight container in the refrigerator for up to 3 days and reheat in a 350°F oven to restore crispness.
This Irresistible Garlic Parmesan Cheeseburger Bombs recipe makes perfectly juicy, tender, and flavorful steak every time! Serve with potatoes and a side salad for an unforgettable dinner in under 30 minutes.
Preheat your oven to 375°F (190°C) and line a baking sheet with parchment paper to prevent sticking and promote even browning.
In a skillet over medium heat, brown 1 lb ground beef until fully cooked, breaking it into small pieces. Cook 6–8 minutes and drain excess fat.
Season the meat with 1 tsp salt, 1 tsp pepper, 1 tsp garlic powder, 1/2 tsp onion powder and 1 tbsp Worcestershire. Stir in 1 cup shredded cheddar until melted and evenly combined.
Roll each biscuit to about 1/4-inch thick and place approximately 2 tablespoons of the cheesy beef into the center of each. Add a small cube of cheese if desired.
Fold the dough around the filling and pinch seams tightly. Place seam-side down on the prepared sheet, spacing them evenly to allow expansion.
Combine 1/4 cup melted butter with 2 tbsp minced garlic. Brush the tops of each ball thoroughly so Parmesan will stick and tops will brown.
Sprinkle 1/4 cup grated Parmesan over the tops and bake for 12–15 minutes, until golden brown. Allow to rest 5 minutes before serving.
Last Step: Please leave a rating and comment letting us know how you liked this recipe! This helps our business to thrive and continue providing free, high-quality recipes for you.
Leave a comment & rating below or tag
@kitchenfunwithmy3sons on social media!
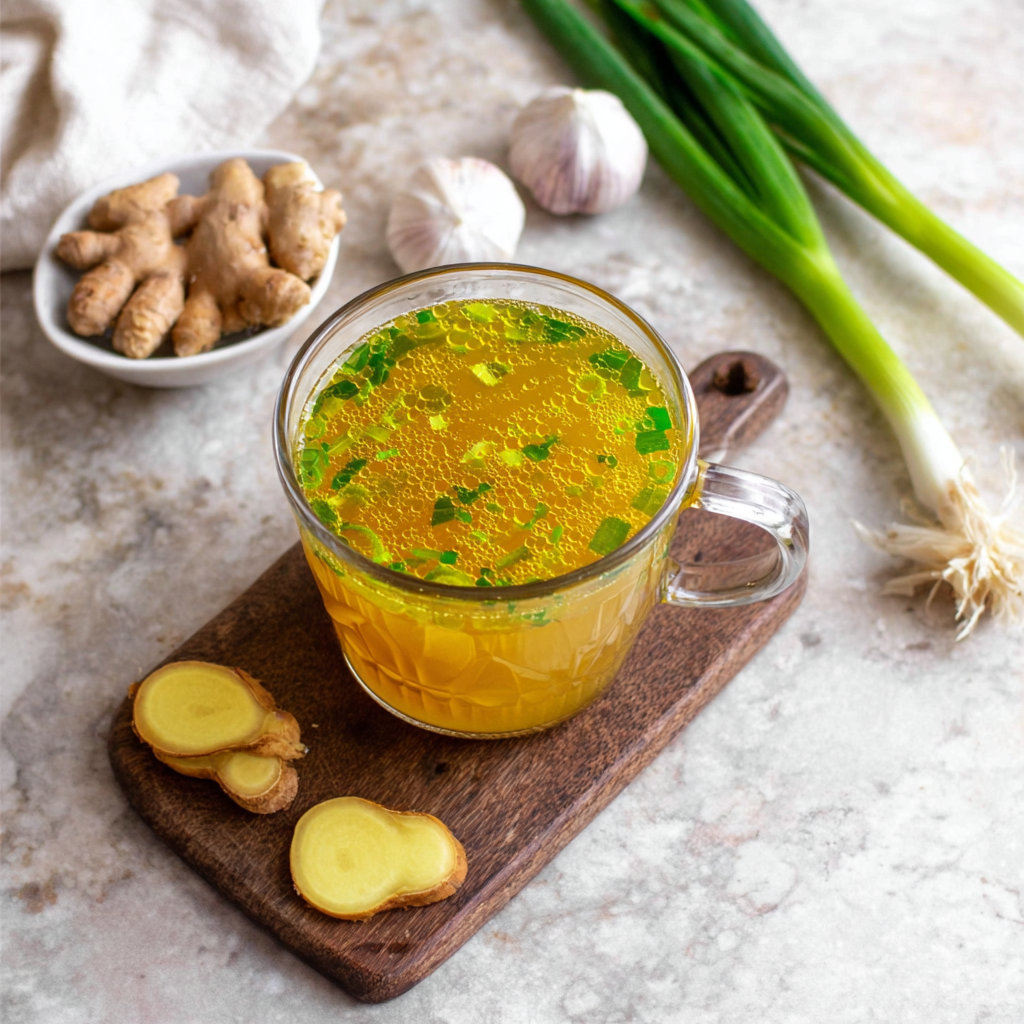
A quick, restorative broth packed with garlic, ginger, miso and turmeric—ready in 10 minutes to soothe, hydrate and support immunity.
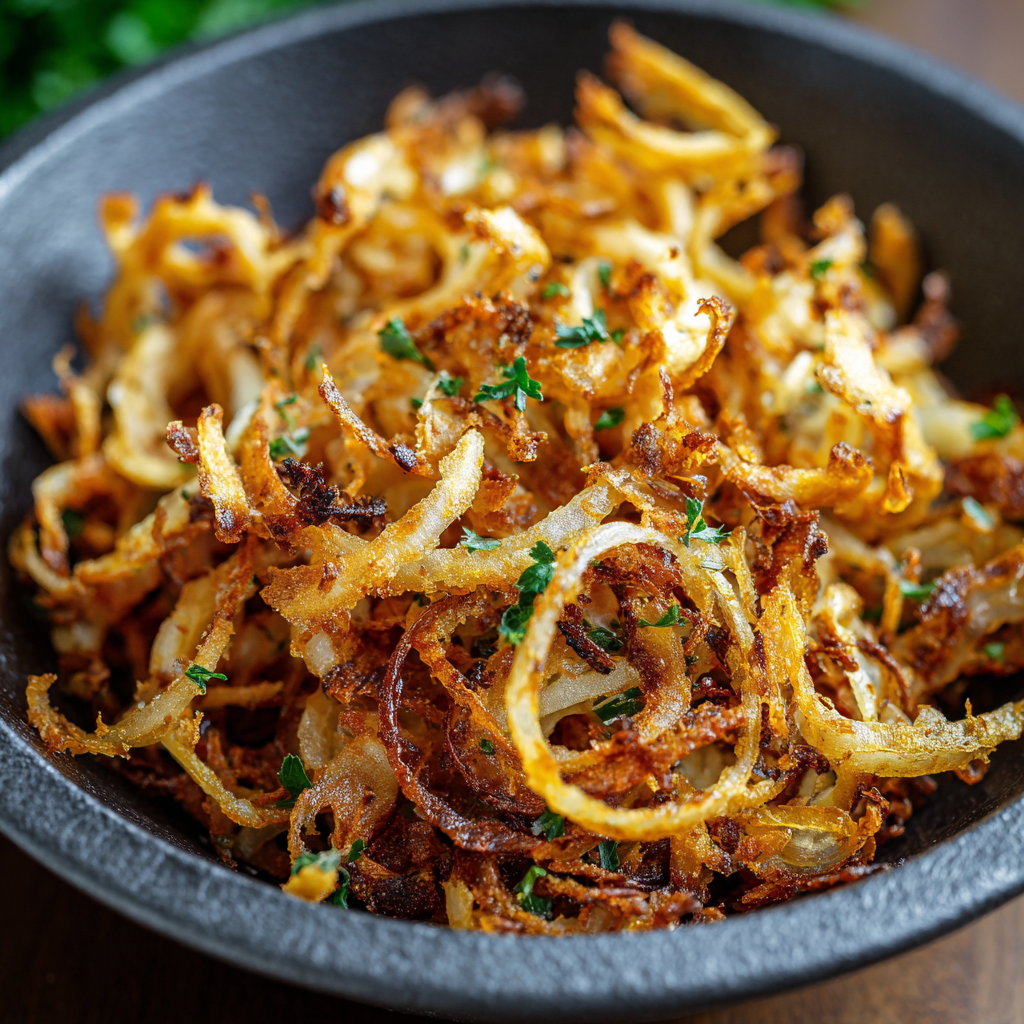
Make irresistibly crispy caramelized onions in the air fryer using a whisper of oil—no deep frying required. A perfect crunchy condiment to top salads, biryanis, and sandwiches.
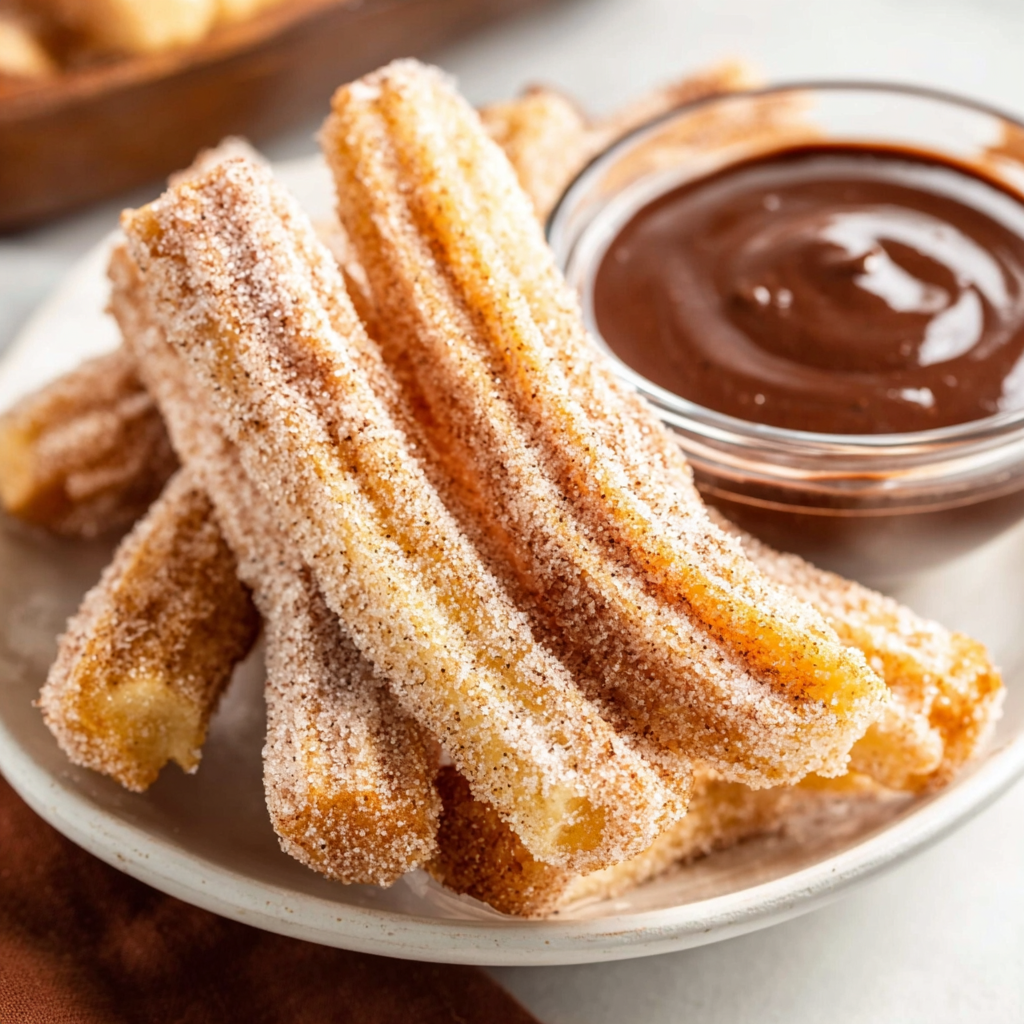
Golden, crisp-on-the-outside, pillowy-on-the-inside churros made in the air fryer. A lighter way to enjoy a Mexican classic, perfect for parties and weeknight treats.
Leave a comment & rating below or tag @kitchenfunwithmysons on social media!
Enjoyed this recipe? Share it with friends and family, and don't forget to leave a review!
This recipe looks amazing! Can't wait to try it.
Comments are stored locally in your browser. Server comments are displayed alongside your local comments.
Quick and easy dinner ideas delivered to your inbox.