
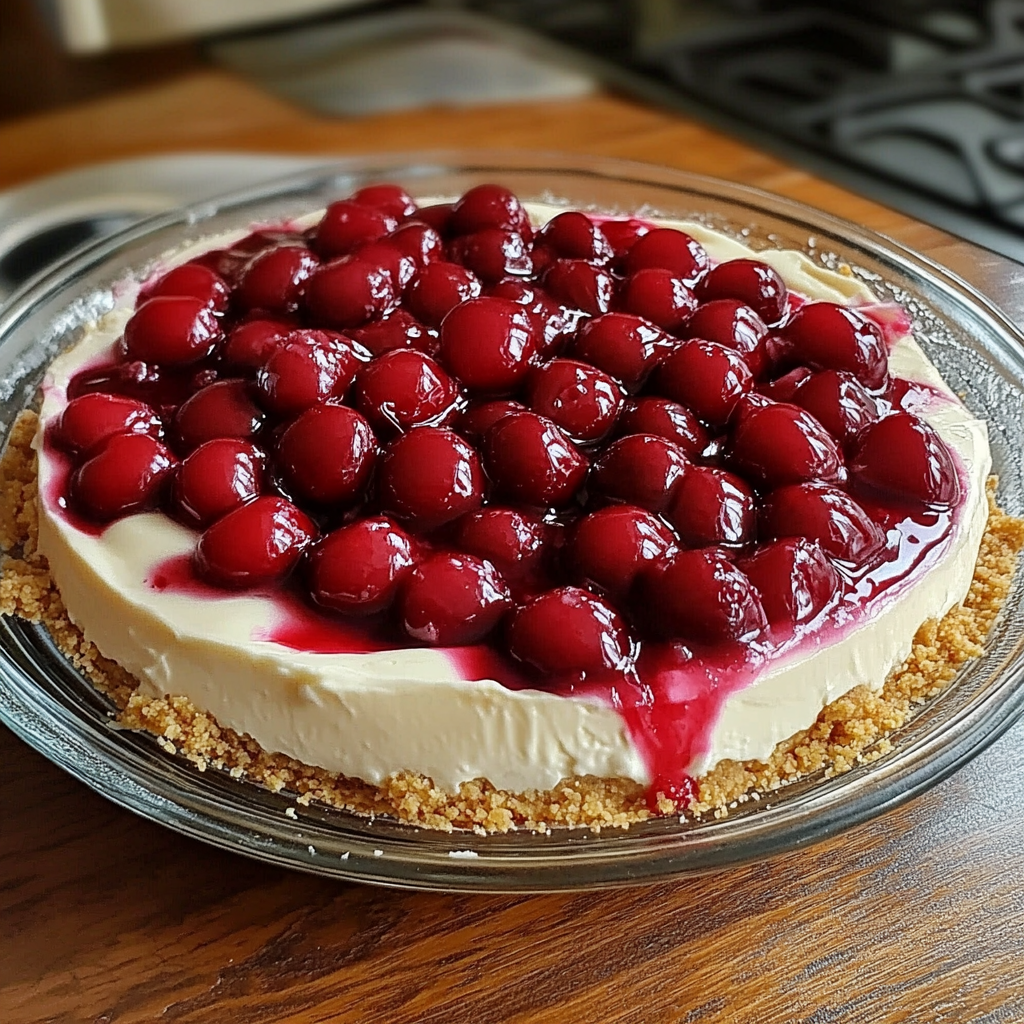
Easiest No-Bake Cherry Cheesecake

A foolproof, creamy no-bake cherry cheesecake made with a graham cracker crust and sweetened condensed milk — ready in hours with minimal effort.
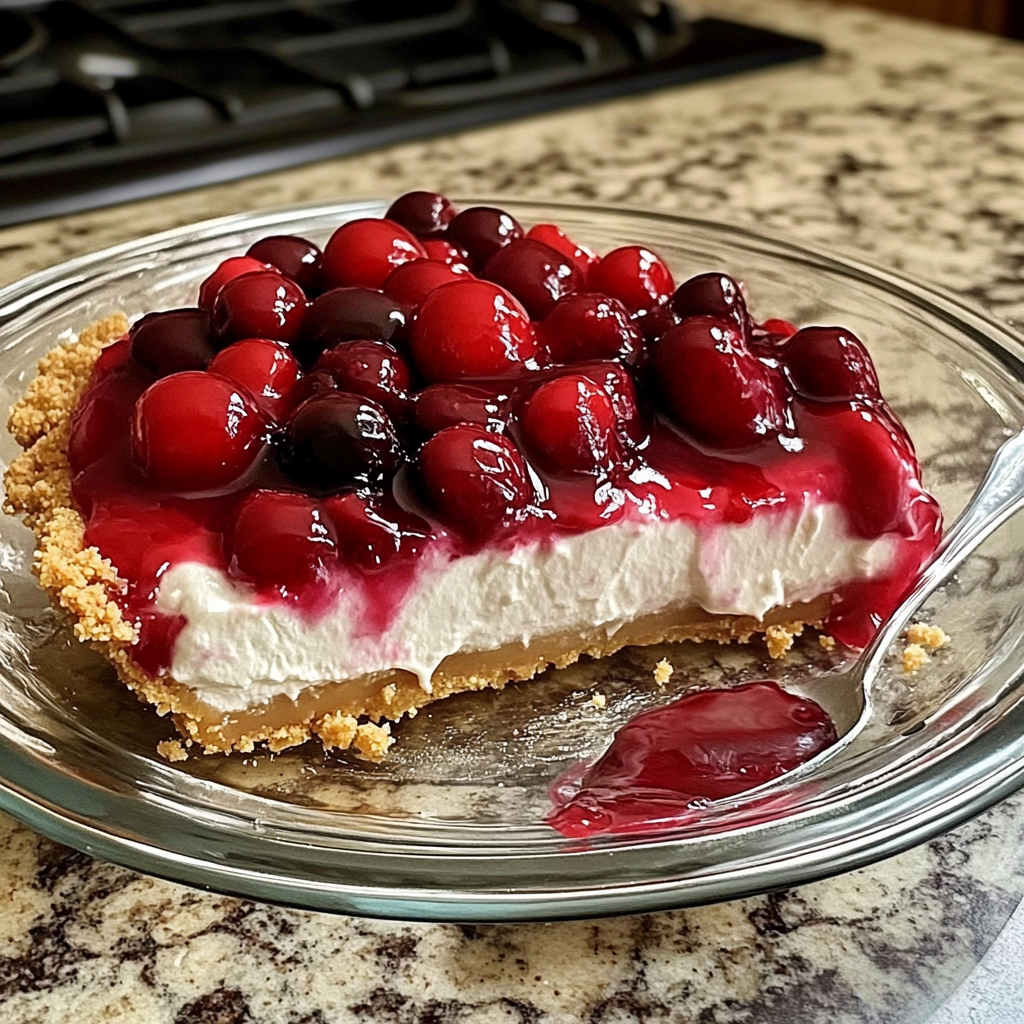
This no-bake cherry cheesecake has been my dependable go-to for summer gatherings and last-minute desserts for years. I first discovered this version on a hectic holiday weekend when oven space was limited and a friend brought a can of cherry pie filling. The resulting dessert was unexpectedly silky and bright: a delicate cream cheese filling set by sweetened condensed milk and lemon, all resting in a sturdy graham cracker shell. It became an instant favorite because it tastes like a classic cheesecake without the fuss of baking or cracks on the surface.
I love this recipe because it balances sweet and tangy perfectly. The texture is somewhere between cloud and traditional cheesecake — light enough for second helpings yet rich enough to feel indulgent. The cherry topping adds a glossy, jewel-bright finish that makes each slice feel festive. Over the years I’ve learned small techniques that make a big difference: warm the cream cheese slightly before beating, chill the pie filling while the filling sets, and always use a deep 9-inch crust so the proportions remain perfect. Serve chilled, and watch people go back for seconds.
Why You'll Love This Recipe
- Minimal active time: about 15 minutes of hands-on work and then 2–3 hours of chilling, making it perfect for busy hosts.
- Pantry friendly: uses common staples like cream cheese, sweetened condensed milk, and a ready-made graham cracker crust.
- Make-ahead friendly: can be prepared the night before so flavors meld and service is effortless.
- Customizable topping: swap cherry for strawberry or blueberry pie filling to suit the season or guest preferences.
- Family-pleasing: kid-friendly sweetness with a slightly tangy finish from lemon juice — a crowd pleaser at potlucks.
- Low-effort presentation: glossy pie filling on top means it looks professional without extra styling.
I remember bringing this to a summer BBQ; someone asked if I had baked it and was surprised when I said no. It felt like a small triumph — a dessert that looks elegant but is entirely approachable. My family appreciates that it’s consistent every time, and I love that I can make it ahead and focus on the main course.
Ingredients
- Graham cracker pie crust: Use a standard 9-inch ready-made graham cracker crust for convenience and consistent texture. I prefer a deep-dish crust (store brands like Keebler or Nabisco work well) so the filling-to-crust ratio feels generous.
- Cream cheese: One 8-ounce package, softened. Full-fat cream cheese gives the best mouthfeel; let it sit at room temperature for 20–30 minutes so it blends smooth without lumps.
- Sweetened condensed milk: One 14-ounce can (Eagle Brand is classic). This ingredient both sweetens and helps the filling set without baking — it’s the key to the no-bake structure.
- Lemon juice: 1/3 cup of freshly squeezed lemon juice. This brightens the flavor and helps thicken the filling chemically with the sweetened condensed milk.
- Vanilla extract: 1 teaspoon. Use pure vanilla for the cleanest flavor; it rounds out the tang of the lemon and richness of the cheese.
- Pie filling: One 21-ounce can of cherry pie filling (or strawberry/blueberry). Chill the can before using so it sets well on top of the chilled filling and doesn’t warm the pie.
Instructions
Step 1 — Soften and beat the cream cheese: Place the 8-ounce block of cream cheese in a mixing bowl and beat on medium speed until completely smooth and lightened in color, about 2–3 minutes. Use a stand mixer fitted with the paddle attachment or a handheld mixer. Scrape the bowl frequently to avoid lumps; a few small warm-ups to room temperature help achieve a silky texture. Step 2 — Add sweetened condensed milk and flavor: Pour in the entire 14-ounce can of sweetened condensed milk while mixing on low. Add 1 teaspoon vanilla and then increase speed slightly to incorporate until the mixture is homogeneous, about 1 minute. Add 1/3 cup fresh lemon juice slowly while mixing; you’ll notice the filling begin to thicken and satin up as the acid reacts with the dairy proteins. Step 3 — Transfer to the crust: Spoon the filling into the 9-inch graham cracker crust and smooth the top with an offset spatula or the back of a spoon. Tap the pie gently on the counter to release any air pockets. Cover loosely with plastic wrap and refrigerate for at least 2–3 hours or overnight for best results. Do not freeze the assembled pie. Step 4 — Chill the pie filling: While the cheesecake base chills, place the can of pie filling in the refrigerator so the fruit topping is cold when applied. Chilled topping sets beautifully against the chilled filling and prevents sliding. Step 5 — Top and serve: When the filling is firm to the touch, spread the chilled pie filling evenly over the top. Keep the pie refrigerated until serving; slice with a hot, clean knife for clean edges. Store leftovers in the refrigerator and consume within 3–4 days.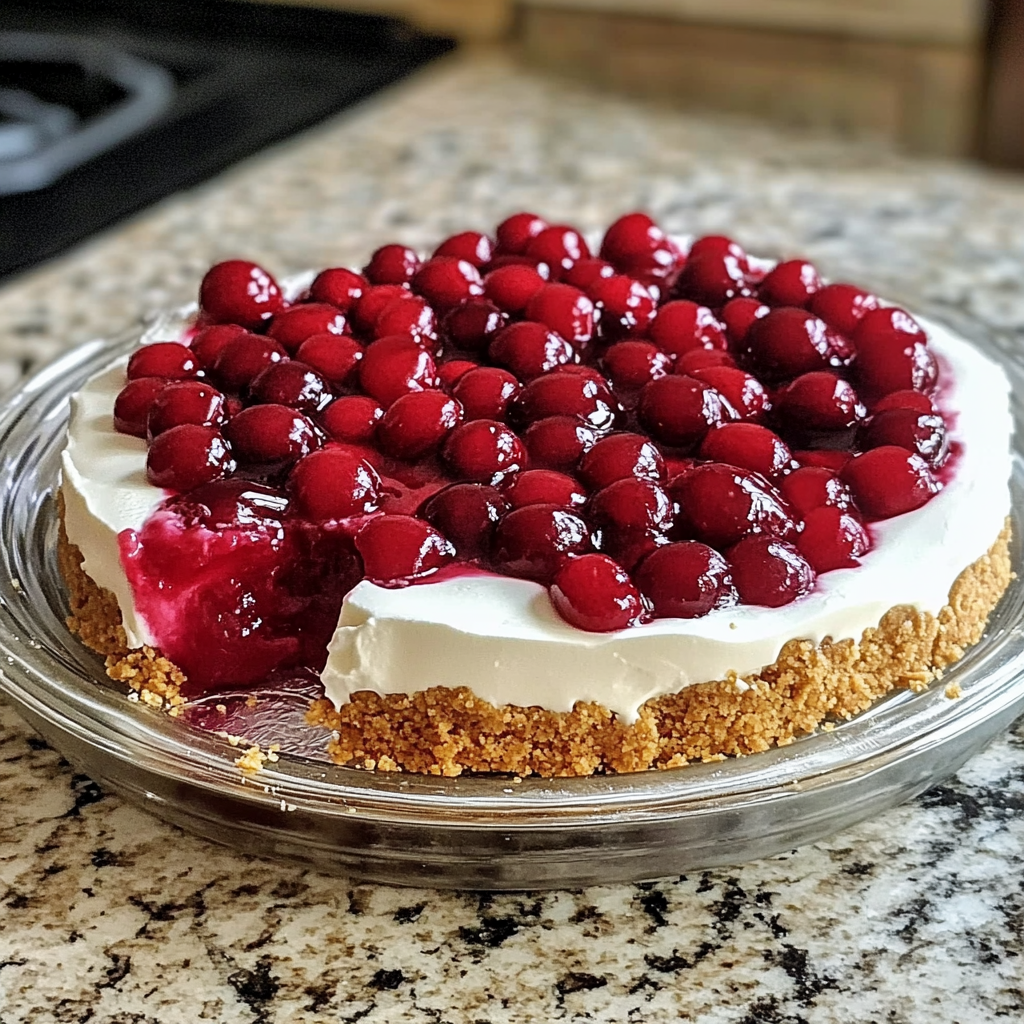
You Must Know
- This dessert is best served chilled and does not freeze well; freeze may cause the filling to weep and change texture.
- Keep the pie refrigerated and consume within 3–4 days for best texture; the crust can soften over time but will still taste great.
- The lemon juice is not optional — it acts as a mild thickener and brightener that prevents the filling from being cloying.
- For a firmer set, chill overnight; for quicker service, a minimum of 2 hours will hold for clean slices.
My favorite thing about this pie is how reliably it turns out. Guests often assume it’s a baked cheesecake because of the dense, creamy texture. I love that it frees up oven space for mains and can be entirely prepared ahead of time — the dessert that lets you enjoy the party.
Storage Tips
Store the finished pie in the refrigerator, covered with plastic wrap or inside an airtight cake carrier. Refrigeration preserves texture and prevents the filling from weeping; a well-wrapped pie will keep 3–4 days. If you expect the crust to soften, place paper towel under the lid to catch condensation. To reheat individual slices, let them sit at room temperature for 10–15 minutes for the best mouthfeel; avoid microwaving, which alters texture. Do not freeze the fully assembled pie — freezing separates the filling and causes a grainy texture when thawed.
Ingredient Substitutions
If you need to adapt ingredients, swap the graham crust for an Oreo-crust for a chocolate contrast; press purchased cookie crumbs into a 9-inch pan with 4 tablespoons melted butter for stability. For a lighter filling, replace half the cream cheese with 1 cup of whipped topping (Cool Whip) folded in at the end — note the filling will be less dense. Use canned sweetened condensed coconut milk for a dairy-free twist, but the texture will be slightly different. If avoiding added sugars, use a no-sugar-added fruit topping and reduce condensed milk proportionally — keep in mind texture and flavor balance will change.
Serving Suggestions
Serve chilled slices on dessert plates with a fork and a paper napkin for easy cleanup. Garnish with a few fresh cherries or a sprig of mint for color contrast. This pie pairs beautifully with slightly bitter coffee or an herbal tea; for adult gatherings, a small glass of dessert wine complements the sweetness. Offer small ramekins of additional pie filling or fresh berries for guests to customize. For a brunch celebration, serve slices with yogurt and granola on the side for a delightful contrast of textures.
Cultural Background
No-bake cheesecakes have a long history in American home cooking as an accessible alternative to oven-baked versions. They became particularly popular in the mid-20th century when canned goods and convenience crusts entered mainstream grocery aisles. The use of sweetened condensed milk as a setting agent is a practical method that gained traction because it reduces baking and simplifies technique while still delivering a rich dairy profile. Fruit-topped variations, like cherry, mirror regional preferences for bright fruit preserves in North American desserts.
Seasonal Adaptations
In summer, swap cherry topping for fresh strawberry slices glazed with reduced strawberry jam. For autumn, top with a spiced pear compote or use apple pie filling with a sprinkle of cinnamon. At holiday time, a tart cranberry-orange compote offers festive color and a tangy finish. Adjust garnishes to the season: edible flowers in spring, candied ginger in winter, and citrus zest for a sunny twist in colder months. These small swaps keep the base recipe fresh year-round.
Meal Prep Tips
Make the filling the night before and chill in the crust for an overnight set; this reduces day-of work to simply topping with chilled pie filling. Portion slices into airtight containers for grab-and-go desserts or office treats; keep fillings separate until service if the pie will sit several hours. Use a pie carrier or sturdy container when transporting to ensure the topping doesn’t shift. For potlucks, bring the topping in a chilled bowl and spread just before serving for a glossy finish.
This simple, reliable dessert brings joy to gatherings and is endlessly adaptable. With minimal hands-on time and predictable results, it’s the kind of recipe you’ll return to again and again — a true home-cooking staple.
Pro Tips
Let the cream cheese come fully to room temperature for the smoothest filling and no lumps.
Chill the canned pie filling while the base sets so it spreads without sliding.
For clean slices, run a knife under hot water, dry it, and slice between each cut.
Use a deep 9-inch crust to maintain a balanced filling-to-crust ratio.
Do not freeze the assembled dessert; freezing alters the texture and causes weeping.
This nourishing easiest no-bake cherry cheesecake recipe is sure to be a staple in your kitchen. Enjoy every moist, high protein slice — it is perfect for breakfast or as a wholesome snack any time.
Tags
Easiest No-Bake Cherry Cheesecake
This Easiest No-Bake Cherry Cheesecake recipe makes perfectly juicy, tender, and flavorful steak every time! Serve with potatoes and a side salad for an unforgettable dinner in under 30 minutes.
Instructions
Soften and beat the cream cheese
Place the 8 oz cream cheese in a mixing bowl and beat until smooth and fluffy, about 2–3 minutes, scraping the bowl to remove lumps.
Combine with sweetened condensed milk and flavor
Add the full 14 oz can of sweetened condensed milk and 1 teaspoon vanilla; mix until smooth. Slowly add 1/3 cup fresh lemon juice while mixing until the filling thickens.
Fill the crust and chill
Spoon the filling into the 9-inch graham cracker crust, smooth the surface, cover, and refrigerate for at least 2–3 hours or overnight until firm.
Top with pie filling and serve
Spread the chilled 21 oz can of cherry pie filling over the set cheesecake base just before serving. Keep refrigerated and slice with a hot, clean knife for neat slices.
Last Step: Please leave a rating and comment letting us know how you liked this recipe! This helps our business to thrive and continue providing free, high-quality recipes for you.
Nutrition
Did You Make This?
Leave a comment & rating below or tag
@kitchenfunwithmy3sons on social media!
Categories:
You might also like...
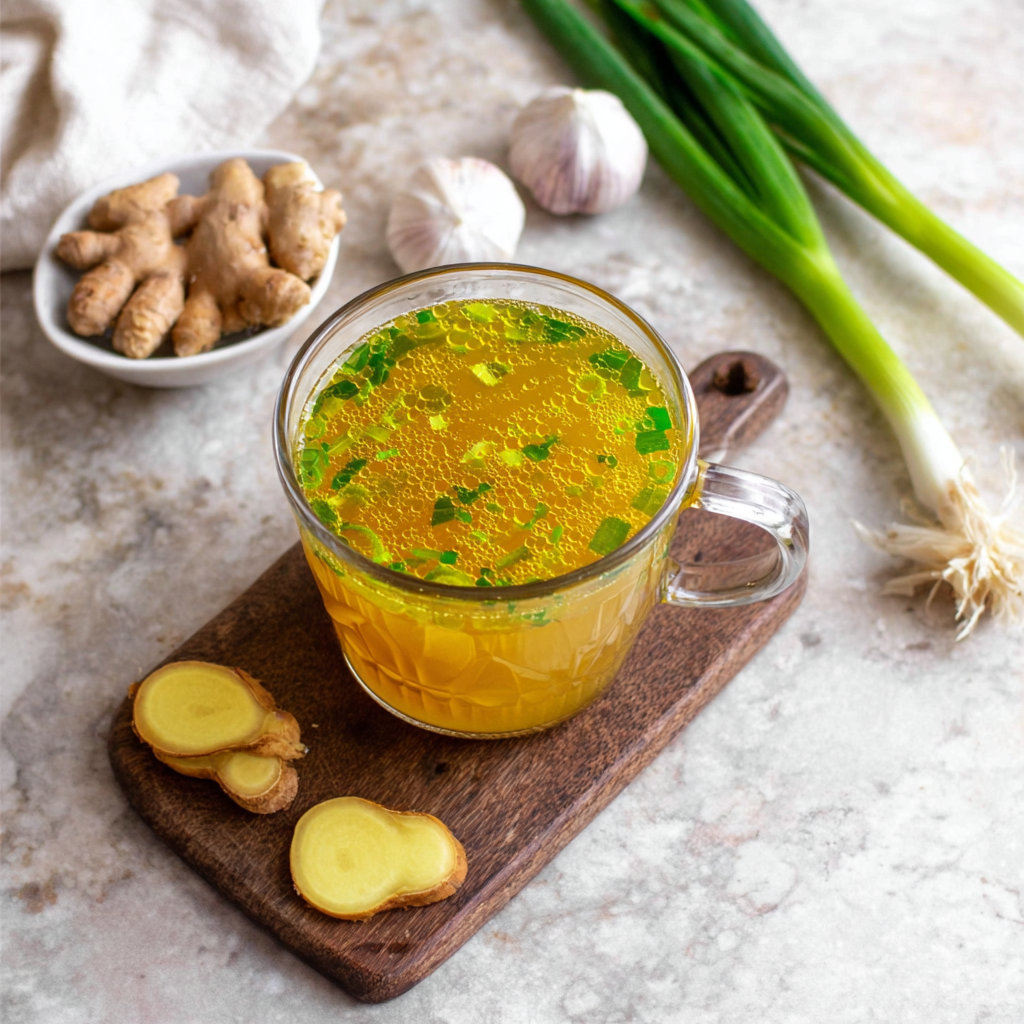
10 Minute Immune Boosting Broth
A quick, restorative broth packed with garlic, ginger, miso and turmeric—ready in 10 minutes to soothe, hydrate and support immunity.
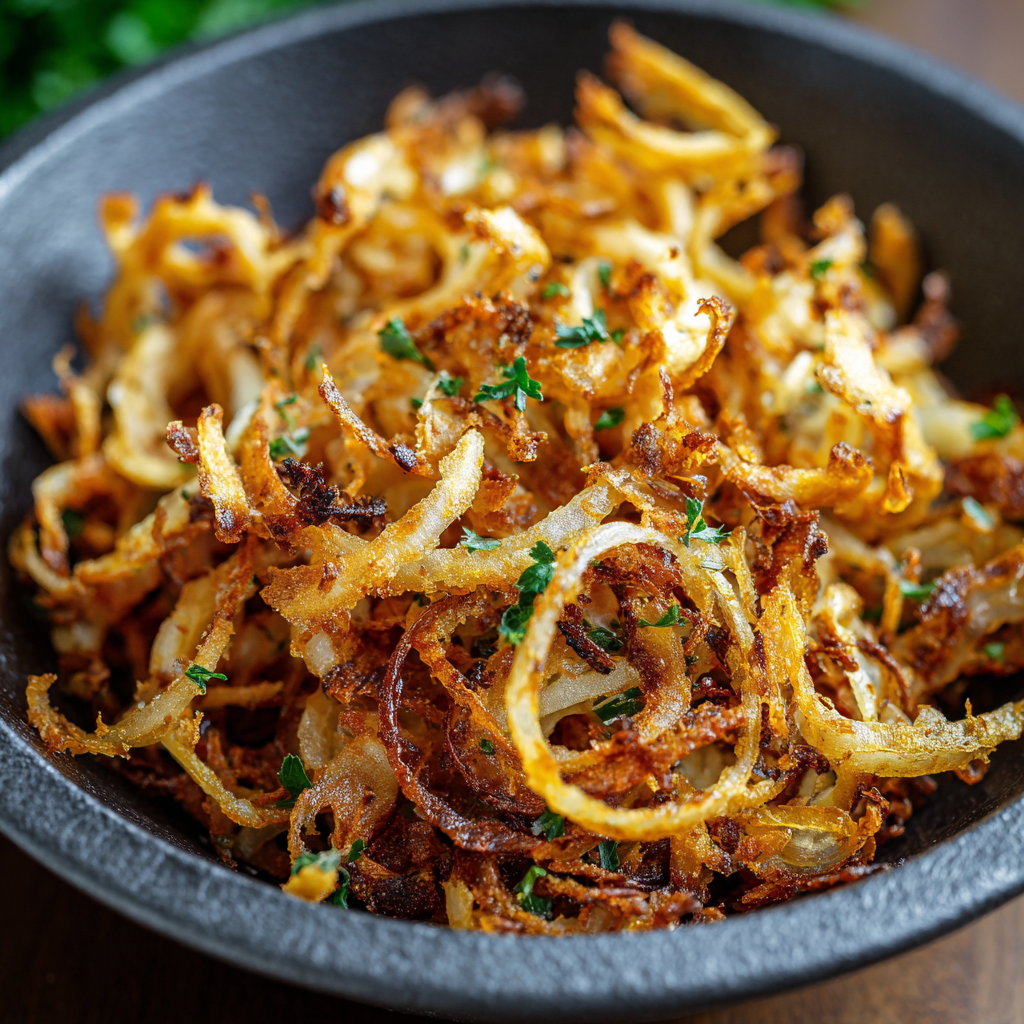
Air Fried Crispy Onion
Make irresistibly crispy caramelized onions in the air fryer using a whisper of oil—no deep frying required. A perfect crunchy condiment to top salads, biryanis, and sandwiches.
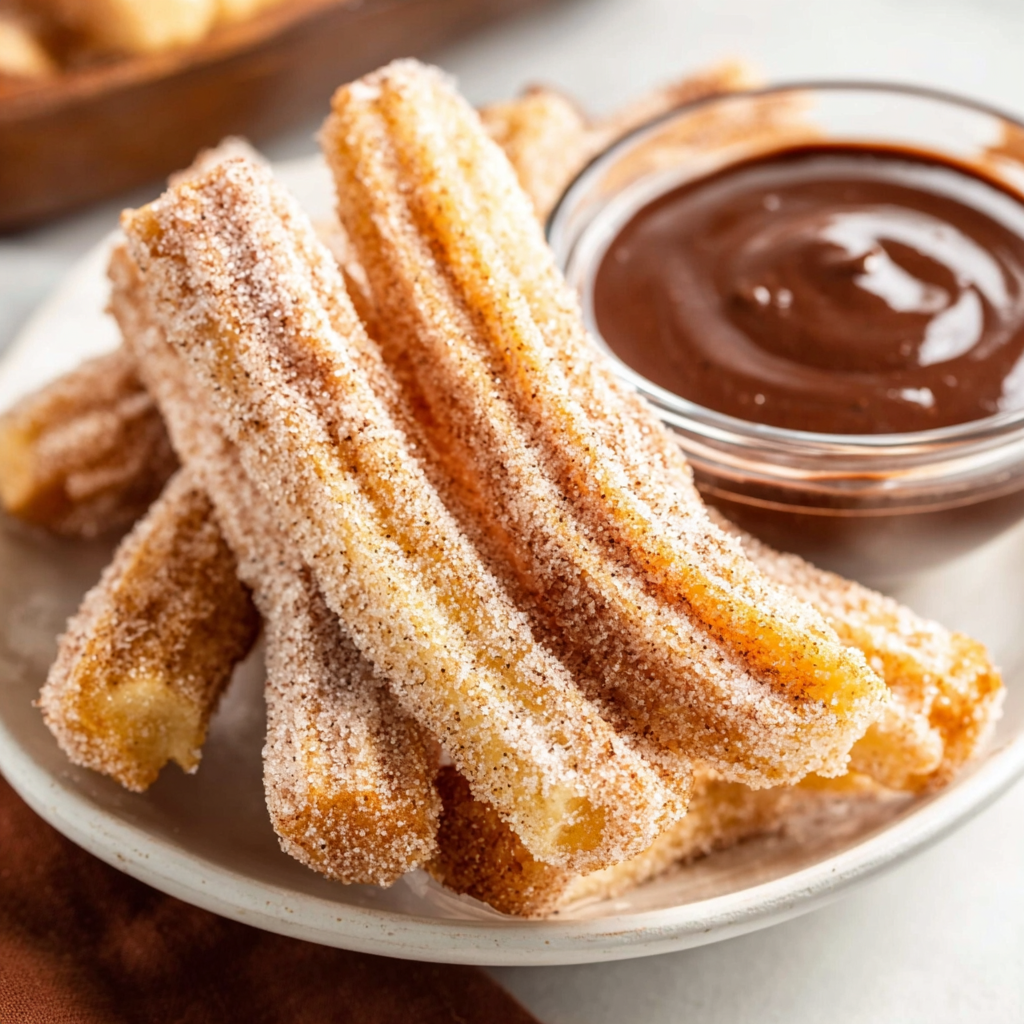
Air Fryer Churros
Golden, crisp-on-the-outside, pillowy-on-the-inside churros made in the air fryer. A lighter way to enjoy a Mexican classic, perfect for parties and weeknight treats.
Did You Make This?
Leave a comment & rating below or tag @kitchenfunwithmysons on social media!
Rate This Recipe
Share This Recipe
Enjoyed this recipe? Share it with friends and family, and don't forget to leave a review!
Comments (1)
This recipe looks amazing! Can't wait to try it.
Comments are stored locally in your browser. Server comments are displayed alongside your local comments.
Hi, I'm Melissa!
What's Popular
Get My 30-Minute Meals email series!
Quick and easy dinner ideas delivered to your inbox.