
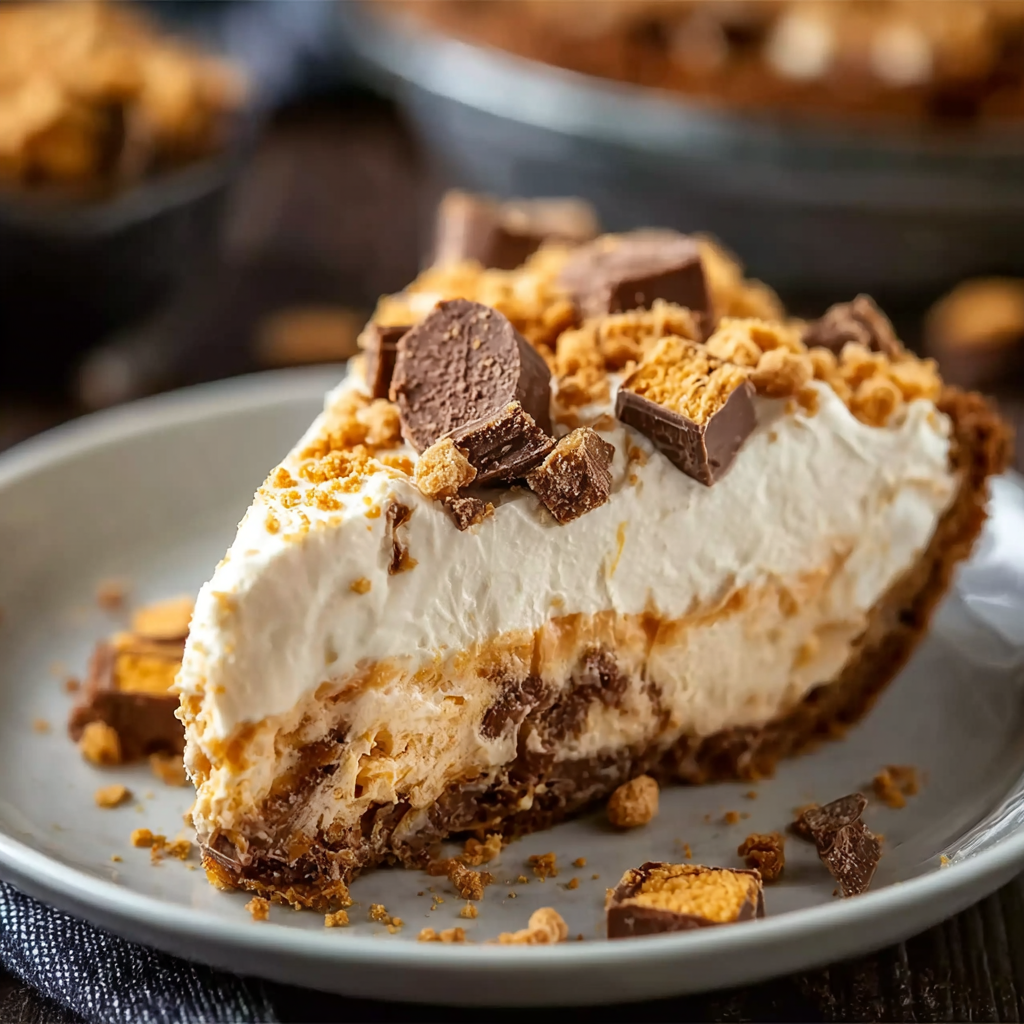
Butterfinger Pie

A cool and creamy no bake pie layered with peanut butter cream and crunchy Butterfinger pieces, set in a chocolate cookie crust. Easy to make and perfect for gatherings.

This cool and creamy Butterfinger pie is one of those desserts that makes people stop talking and start smiling. I first made this on a warm summer evening when a last minute dinner guest asked for something quick and impressive. The combination of silky cream cheese, fluffy whipped topping, and crushed Butterfinger bars tucked into a chocolate crust felt like dessert alchemy. Every forkful gives you smooth peanut butter notes and crunchy candy shards, which is a texture dance that always wins over a crowd.
I remember bringing this to a neighborhood potluck and watching a ring of friends and family debate whether to scrape the serving plate clean. It is a no bake treat that comes together fast and then rests while you get on with other things. The reserved Butterfinger pieces on top add a showy finishing touch that makes it look like more work than it actually is. If you love peanut butter and candy bar texture, this is the pie to keep in your repertoire for birthdays, summer gatherings, or any time you want a fuss free sweet that still feels decadent.
Why You'll Love This Recipe
- This comes together in about 15 minutes of active time, making it ideal for busy weeknights and last minute company.
- It uses pantry friendly ingredients and a store bought chocolate cookie crust so you do less prep and still get high impact flavor.
- The filling is a simple three component mix of cream cheese, peanut butter, and whipped topping for a silky texture that sets without baking.
- Crushed Butterfinger pieces folded into the filling add satisfying crunch and candy bar flavor in every bite.
- You can make it ahead and chill it for at least four hours, which frees you up on the day you plan to serve it.
- It is a crowd pleaser for kids and adults and travels well for picnics or potlucks.
I have made this version many times, sometimes swapping in different cookie crusts depending on what I have on hand. Family reaction has always been enthusiastic. My niece declared it the best candy pie she had ever eaten and requested it for her birthday. That kind of feedback is why this has become my go to when I want a fast, showy dessert.
Ingredients
- Cream cheese: Use one 8 ounce package, softened to room temperature so it whips smooth without lumps. Full fat cream cheese gives the best richness; brands I reach for are Philadelphia or a local artisan brand if available.
- Creamy peanut butter: Half cup of a smooth variety gives clear nutty flavor. Choose a familiar brand like Jif or Skippy for consistent texture and spread ability. Natural peanut butter can work but you may need a short beat to smooth out oil separation.
- Vanilla extract: Two teaspoons of pure vanilla lifts the flavors and rounds out the sweetness. Avoid imitation if you can for a cleaner flavor.
- Powdered sugar: One and a half cups adds sweetness and stabilizes the filling. Sift if it looks lumpy for the silkiest result.
- Butterfinger bars: Use a 12 and a half ounce bag of fun sized Butterfinger bars, crushed. Reserve two bars to chop and sprinkle on top for presentation and crunch.
- Whipped topping: One 8 ounce container of thawed Cool Whip or other stabilized whipped topping keeps the filling airy. If you prefer homemade whipped cream, stabilize it with a little powdered sugar and cream cheese so the pie sets.
- Chocolate cookie crust: One store bought Oreo or chocolate graham cracker crust, nine inch, provides a sturdy chocolate base that contrasts the peanut butter filling.
Instructions
Soften the cream cheese and combine: Place the 8 ounce package of room temperature cream cheese in a large mixing bowl. Add half cup of creamy peanut butter and two teaspoons of vanilla extract. Use a hand held electric mixer on medium speed and beat until the mixture is completely smooth and free of lumps, about one to two minutes. The temperature of the cream cheese matters here, softer makes for a silkier texture and prevents small bits from showing in the final filling. Add powdered sugar: Spoon in one and a half cups of sifted powdered sugar while mixing on low. Increase speed briefly until the sugar is fully incorporated and the mixture is thick but still spreadable. Taste and adjust sweetness if needed. The powdered sugar also helps the filling hold its shape when chilled. Fold in Butterfinger pieces: Gently fold in most of the crushed Butterfinger pieces using a rubber spatula, reserving the pieces from two bars for the top. Folding preserves the lightness achieved by whipping the base and disperses the candy evenly so each slice has crunchy bits. Incorporate whipped topping: Carefully fold in one container of thawed Cool Whip until the filling is uniform and airy. Avoid over mixing as you want the whipped topping to retain its volume. The filling should be smooth, pale and spoonable. Assemble and chill: Spread the filling into the store bought chocolate cookie crust using an offset spatula for a neat finish. Sprinkle the reserved chopped Butterfinger pieces on top. Cover with plastic wrap and refrigerate for at least four hours to allow the filling to set. For best slices chill overnight.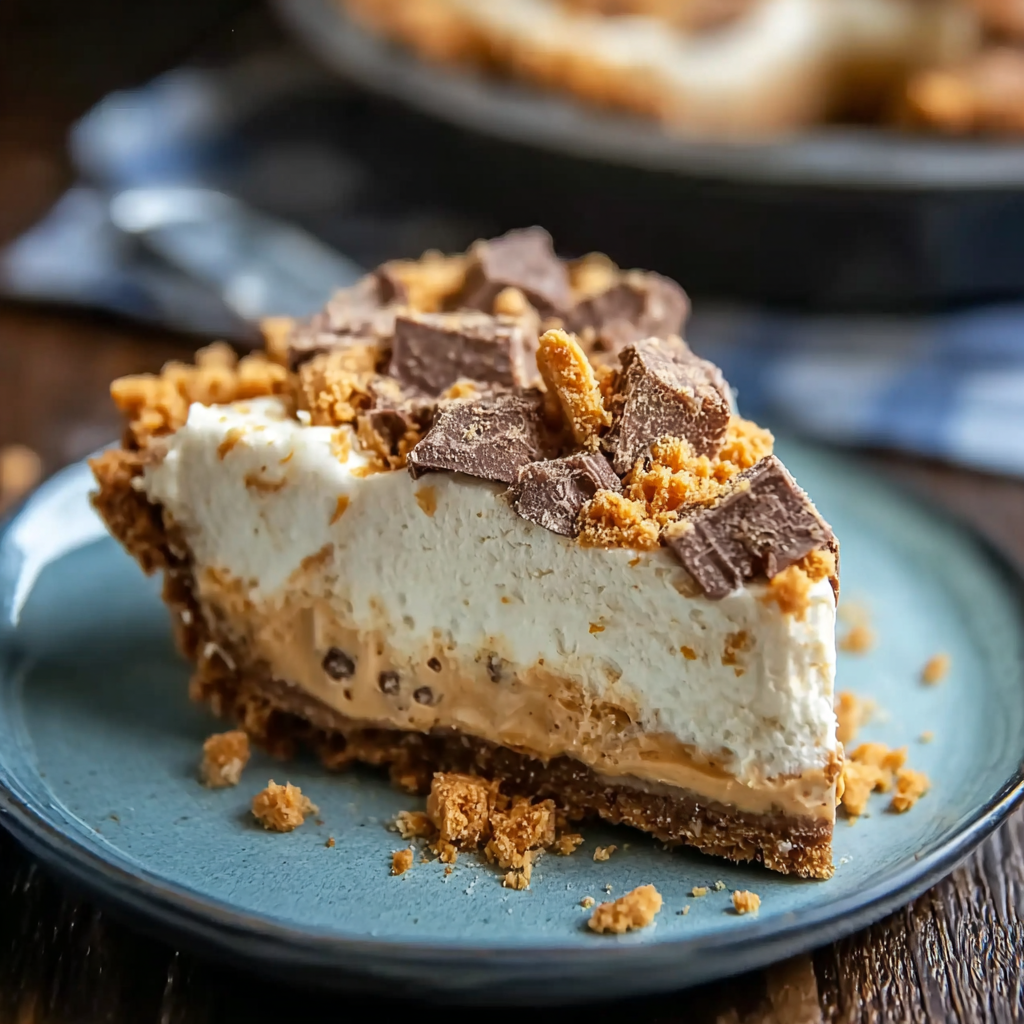
You Must Know
- This dessert keeps well in the refrigerator for three days in an airtight container, it also freezes well for up to three months if wrapped tightly in plastic and foil.
- The pie is fairly high in calories and sugar, with about six hundred fifty seven calories per serving based on eight slices, so smaller slices are satisfying and sensible for sharing.
- If you plan to transport the pie, keep it chilled on ice in a cooler to preserve texture and prevent melting of the topping pieces.
- This version contains peanuts, dairy and gluten from the cookie crust and the candy bars, so it is not suitable for those avoiding these allergens.
I love the way the crunchy candy contrasts the creamy filling, it is my favorite aspect because it gives the pie a playful texture that pleases kids and grown ups alike. The simple assembly means I can bring something that looks elegant to gatherings without spending hours in the kitchen. Each time I serve this someone asks for the recipe, which always feels like a small win.
Storage Tips
Store the pie covered in the refrigerator for up to three days. Use a pie server and a chilled plate for neat slices. For longer storage wrap the pie in plastic wrap and then in aluminum foil and freeze for up to three months. Thaw in the refrigerator overnight before serving. Leftover slices can be kept in an airtight container, separated by parchment paper sheets to prevent sticking. If the top candy gets slightly soft after refrigeration, allow slices to sit at room temperature for about ten to fifteen minutes before serving to regain some of the candy crunch.
Ingredient Substitutions
If you want to reduce sugar, substitute half of the powdered sugar with a powdered sugar alternative in a one to one ratio but expect a slightly different mouthfeel. For a homemade option, use a nine inch chocolate cookie crust made with crushed Oreos and melted butter. If you prefer a less sweet peanut profile swap the creamy peanut butter for a light peanut butter and reduce powdered sugar by two to four tablespoons. For a dairy free option choose a nondairy whipped topping and a dairy free cream cheese style spread though texture will be a little different and the filling may be less stable.
Serving Suggestions
Serve chilled on dessert plates with a drizzle of chocolate sauce and a dollop of whipped cream for extra flair. Garnish each slice with reserved Butterfinger pieces and a light dusting of cocoa powder if desired. This pairs nicely with cold brew coffee in summer or a simple black coffee after a hearty meal. For parties cut into small squares and present on a tray for easy passing. The pie also makes a festive addition to holiday dessert tables when decorated with additional candy pieces for color.
Cultural Background
The idea of candy bar pies taps into American home baking traditions where boxed mixes and candy bars were folded into no bake preparations for convenience and familiarity. Store bought whipped toppings and cookie crusts rose in popularity in the mid twentieth century because they made it easier to produce creamy desserts that required no oven time. The Butterfinger candy itself dates back many decades and its flaky, crunchy texture translates beautifully into a pie where texture contrast is the hero.
Seasonal Adaptations
In summer, keep the pie extra chilled and serve alongside fresh berries to cut the sweetness. In autumn try folding in a small amount of browned butter into the crust for a nutty note and sprinkle with chopped toasted peanuts for warmth. For holiday occasions swap Butterfinger for seasonal candy pieces or combine half Butterfinger and half crushed peanut brittle for a festive crunch. Small changes in garnish can make this feel holiday ready.
Meal Prep Tips
Make the filling up to two days ahead and keep it sealed in the refrigerator. Assemble into the crust on the day you plan to serve for the freshest top crunch. If you are making multiple pies for an event, prepare the crushed candy in advance and store in an airtight container at room temperature. Label the containers with the date and use within a week for best texture. When slicing, dip a sharp knife in hot water and wipe between cuts for clean edges.
Whether you are bringing this to a summer barbecue or serving it at a family dinner, this Butterfinger pie is a fast and beloved dessert that will likely become a repeat request. Have fun with the garnish and make the recipe your own.
Pro Tips
Use room temperature cream cheese for the smoothest filling and to avoid lumps when mixing.
Reserve a couple of candy bars to sprinkle on top for a fresh crunchy finish just before serving.
Chill the pie for at least four hours, overnight yields the cleanest slices.
If slicing neatly, warm a sharp knife under hot water, dry it, and make each cut in a single steady motion.
This nourishing butterfinger pie recipe is sure to be a staple in your kitchen. Enjoy every moist, high protein slice — it is perfect for breakfast or as a wholesome snack any time.
Tags
Butterfinger Pie
This Butterfinger Pie recipe makes perfectly juicy, tender, and flavorful steak every time! Serve with potatoes and a side salad for an unforgettable dinner in under 30 minutes.
Ingredients
Filling
Crust
Instructions
Soften and mix base
Place room temperature cream cheese and creamy peanut butter in a large mixing bowl. Add vanilla extract and beat with a hand held electric mixer on medium until completely smooth and lump free, about one to two minutes.
Incorporate powdered sugar
Add powdered sugar gradually while mixing on low. Increase speed briefly until the sugar is fully incorporated and the mixture is thick but spreadable.
Fold in candy pieces
Gently fold in most of the crushed Butterfinger pieces using a rubber spatula, reserving the pieces from two bars for the top. Folding keeps the mixture light.
Add whipped topping
Carefully fold in thawed whipped topping until uniform and airy. Avoid over mixing to preserve volume.
Assemble and chill
Spread the filling into the store bought chocolate cookie crust, sprinkle the reserved Butterfinger pieces on top, cover with plastic wrap and refrigerate at least four hours before serving. For best results chill overnight.
Last Step: Please leave a rating and comment letting us know how you liked this recipe! This helps our business to thrive and continue providing free, high-quality recipes for you.
Nutrition
Did You Make This?
Leave a comment & rating below or tag
@kitchenfunwithmy3sons on social media!
Categories:
You might also like...
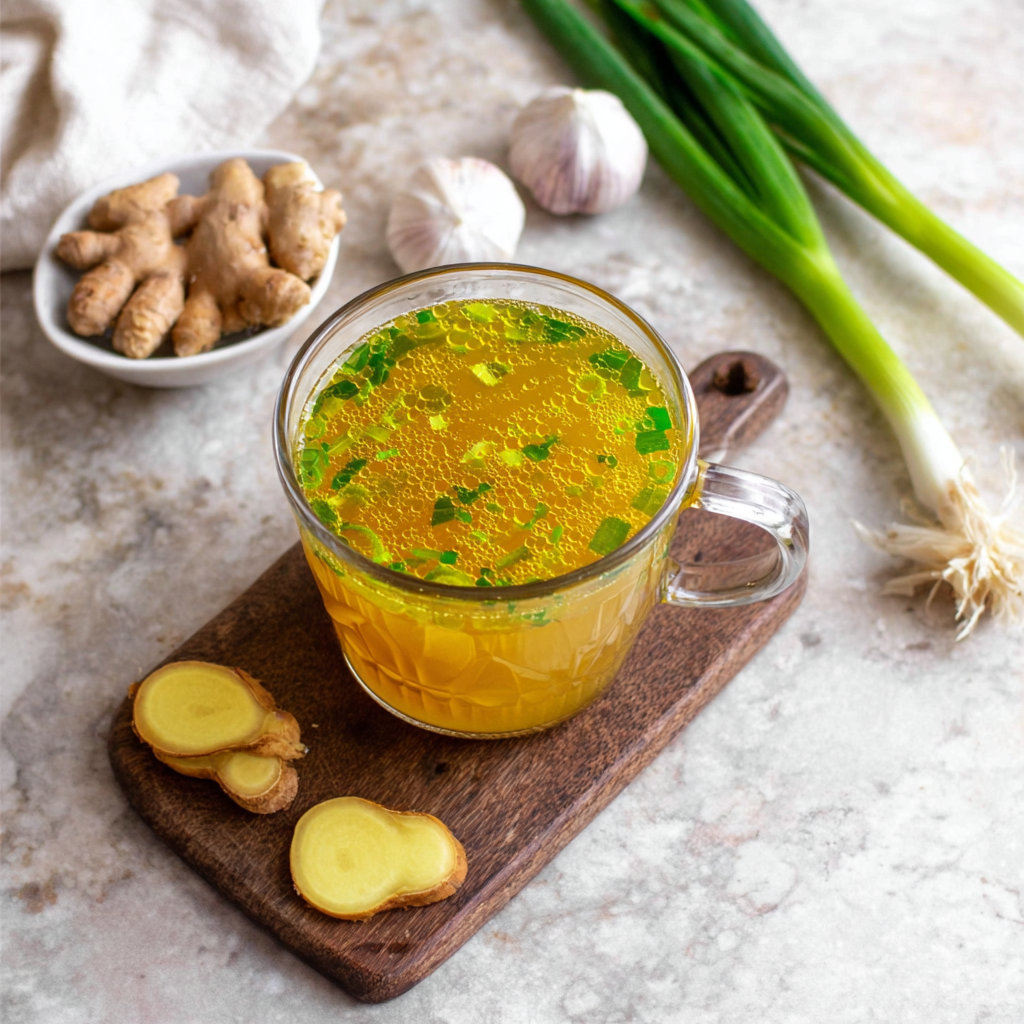
10 Minute Immune Boosting Broth
A quick, restorative broth packed with garlic, ginger, miso and turmeric—ready in 10 minutes to soothe, hydrate and support immunity.
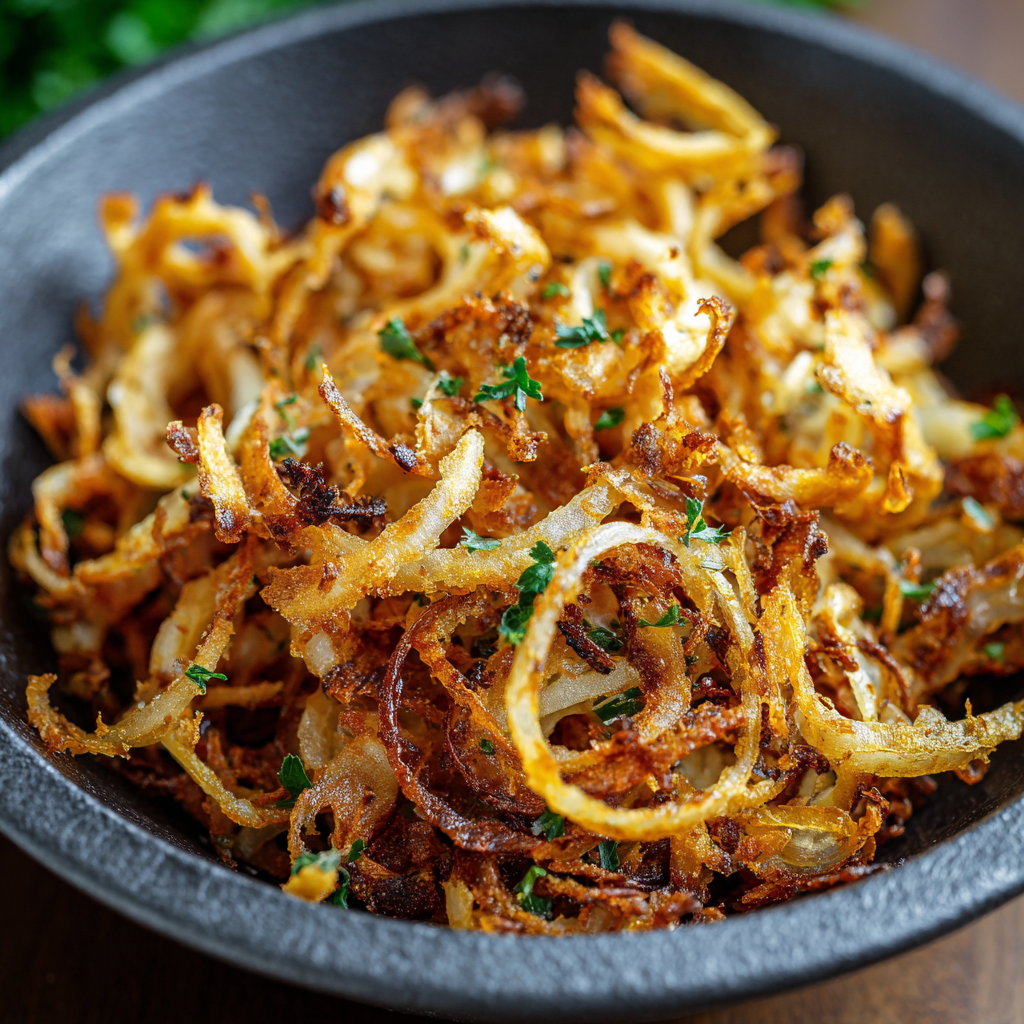
Air Fried Crispy Onion
Make irresistibly crispy caramelized onions in the air fryer using a whisper of oil—no deep frying required. A perfect crunchy condiment to top salads, biryanis, and sandwiches.
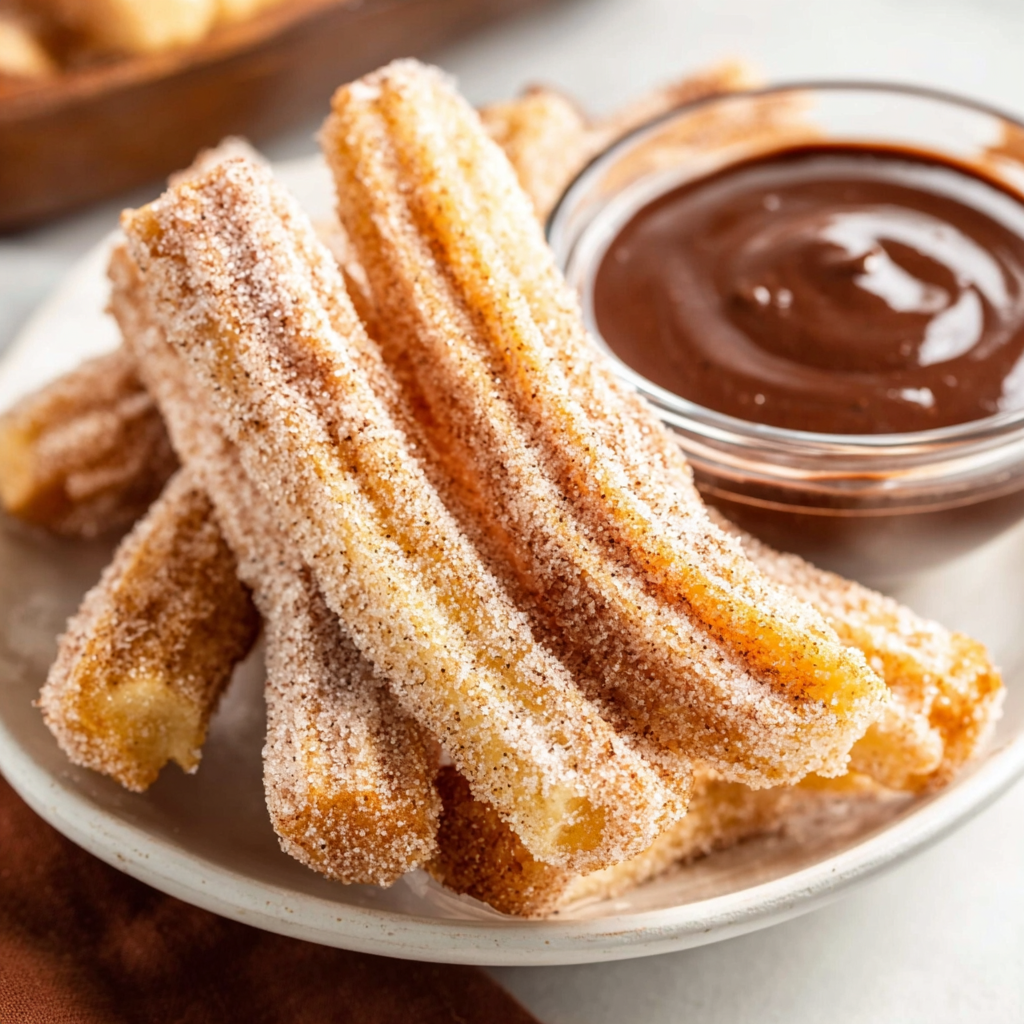
Air Fryer Churros
Golden, crisp-on-the-outside, pillowy-on-the-inside churros made in the air fryer. A lighter way to enjoy a Mexican classic, perfect for parties and weeknight treats.
Did You Make This?
Leave a comment & rating below or tag @kitchenfunwithmysons on social media!
Rate This Recipe
Share This Recipe
Enjoyed this recipe? Share it with friends and family, and don't forget to leave a review!
Comments (1)
This recipe looks amazing! Can't wait to try it.
Comments are stored locally in your browser. Server comments are displayed alongside your local comments.
Hi, I'm Melissa!
What's Popular
Get My 30-Minute Meals email series!
Quick and easy dinner ideas delivered to your inbox.